Install ARSDK Package
ARSDK can be installed in two ways. Choose the preferred method based on your development environment.
Installation via UPM (Package Manager) (Recommended)
- Click Window > Package Manager in the top menu of Unity to activate the Package Manager window.
- In the Package Manager window, click the + button in the top left and select Add package from git URL, then enter the following URL:
https://github.com/NaverCloudPlatform/ARCeyeARSDK.git?path=Assets/ARSDK
If you need to update ARSDK, select Packages: In Project in the Package Manager, choose ARSDK, and click the Update button in the top right to proceed with the update.
If you want to use a specific version of ARSDK, add #v{version} to the end of the git URL to change to the desired version.
e.g., https://github.com/NaverCloudPlatform/ARCeyeVLSDK.git?path=Assets/ARSDK#v1.6.0
Installation via Custom Package
- Download the ARSDK package from ARCeyeARSDK Github.
- Click Assets > Import Packages > Custom Package… in the top menu of Unity, then find and add ar-sdk-unity-x.x.x.unitypackage to the project.
- This process automatically installs the following packages:
com.unity.nuget.newtonsoft-json@3.2.1
com.unity.cloud.gltfast@6.1.0
com.unity.cloud.draco@5.1.8 - After installation, the following define symbols are automatically set:
ARSDK_GLTFASTcautionIf ARSDK_GLTFAST is not added to the define symbols, ARSDK cannot be used. If ARSDK is added but not usable, check the define symbols.
- This process automatically installs the following packages:
Tasks Performed After Adding the Package
Adding Layers
When the package is added, layers are added. The added layers are as follows:
- Map
- MapPOI
- MapArrow
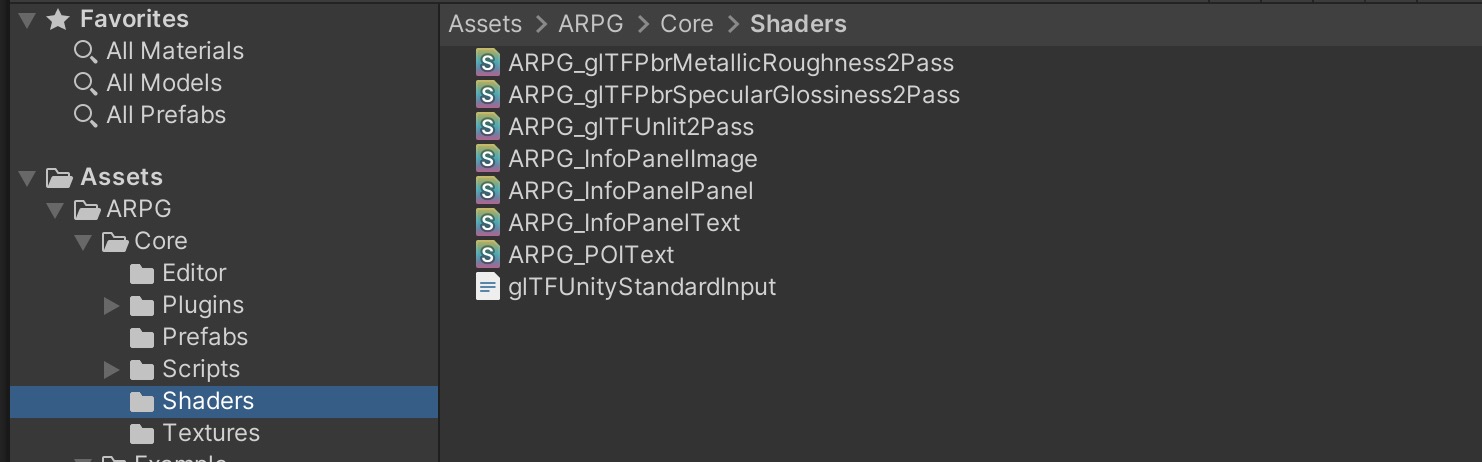
Adding Always Included Shaders
When the package is added, all shaders in ARPG > Core > Shaders are added as Always Included Shaders.