Implementing a Simple App
In this tutorial, you will learn how to use the VLSDK by implementing the 1.Simple sample project that uses the most basic features of the SDK.
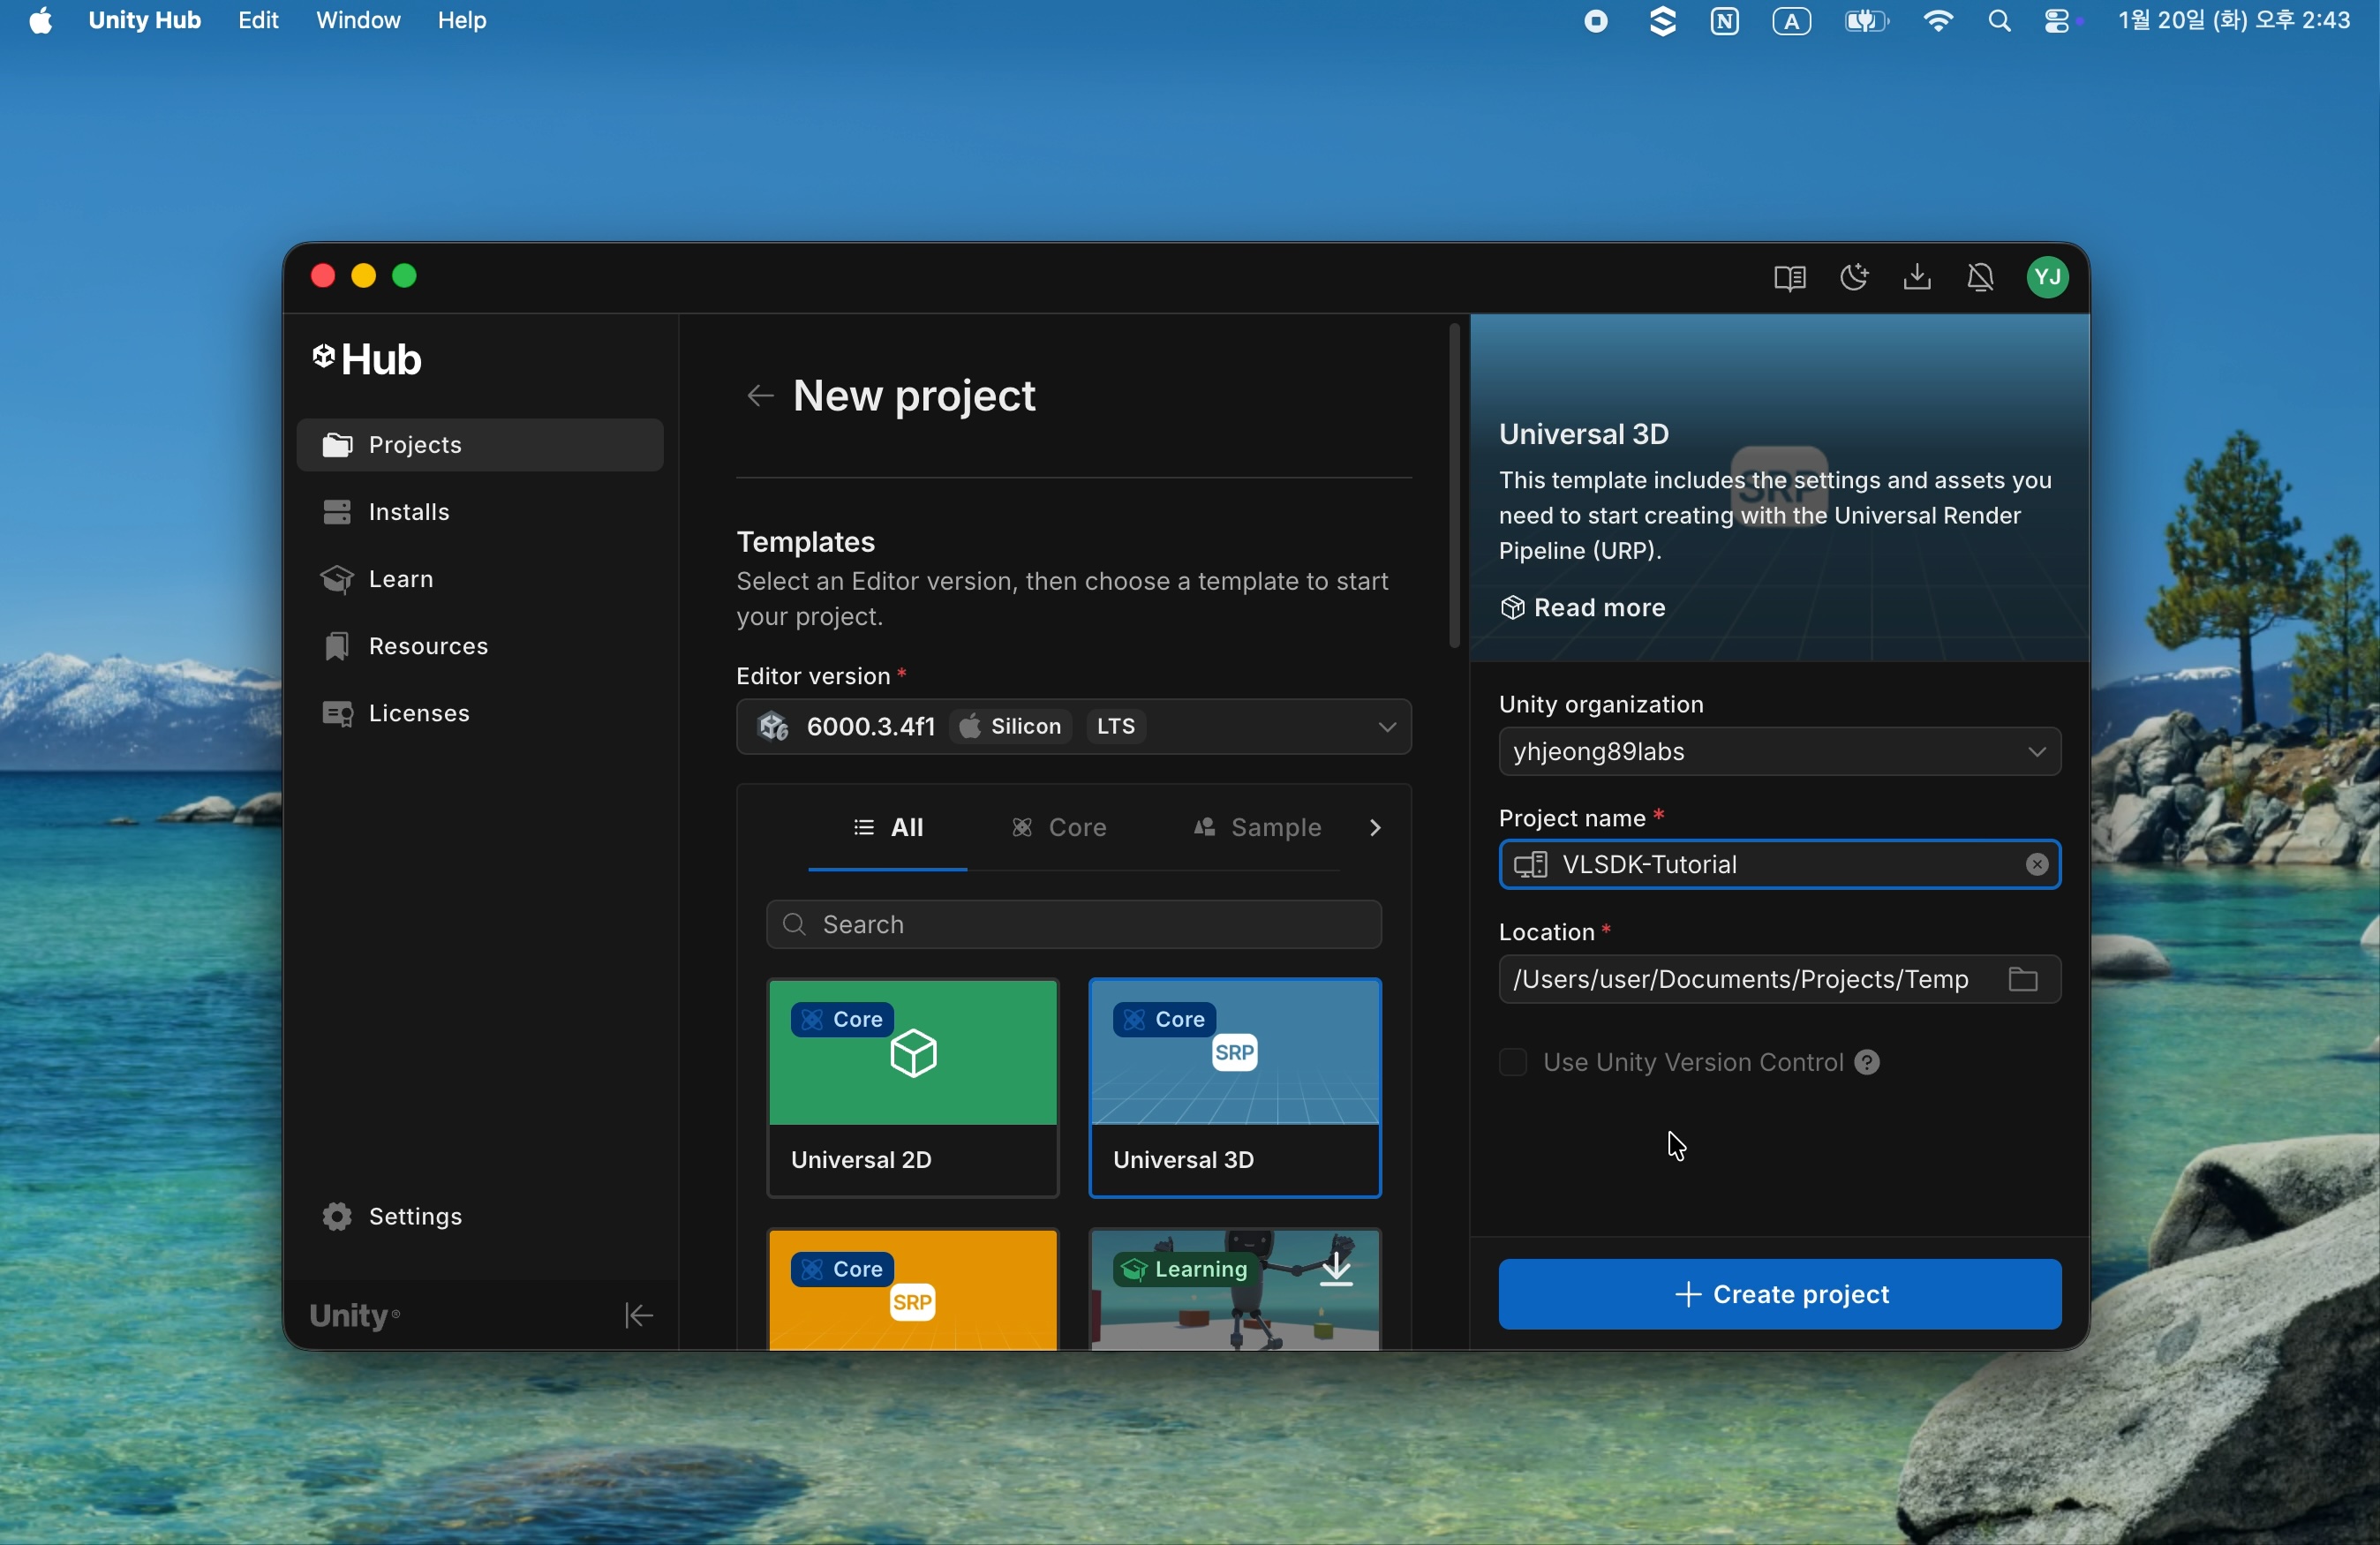
1. Create a Project
1.1 Create a New Project
- Create a Universal 3D project.
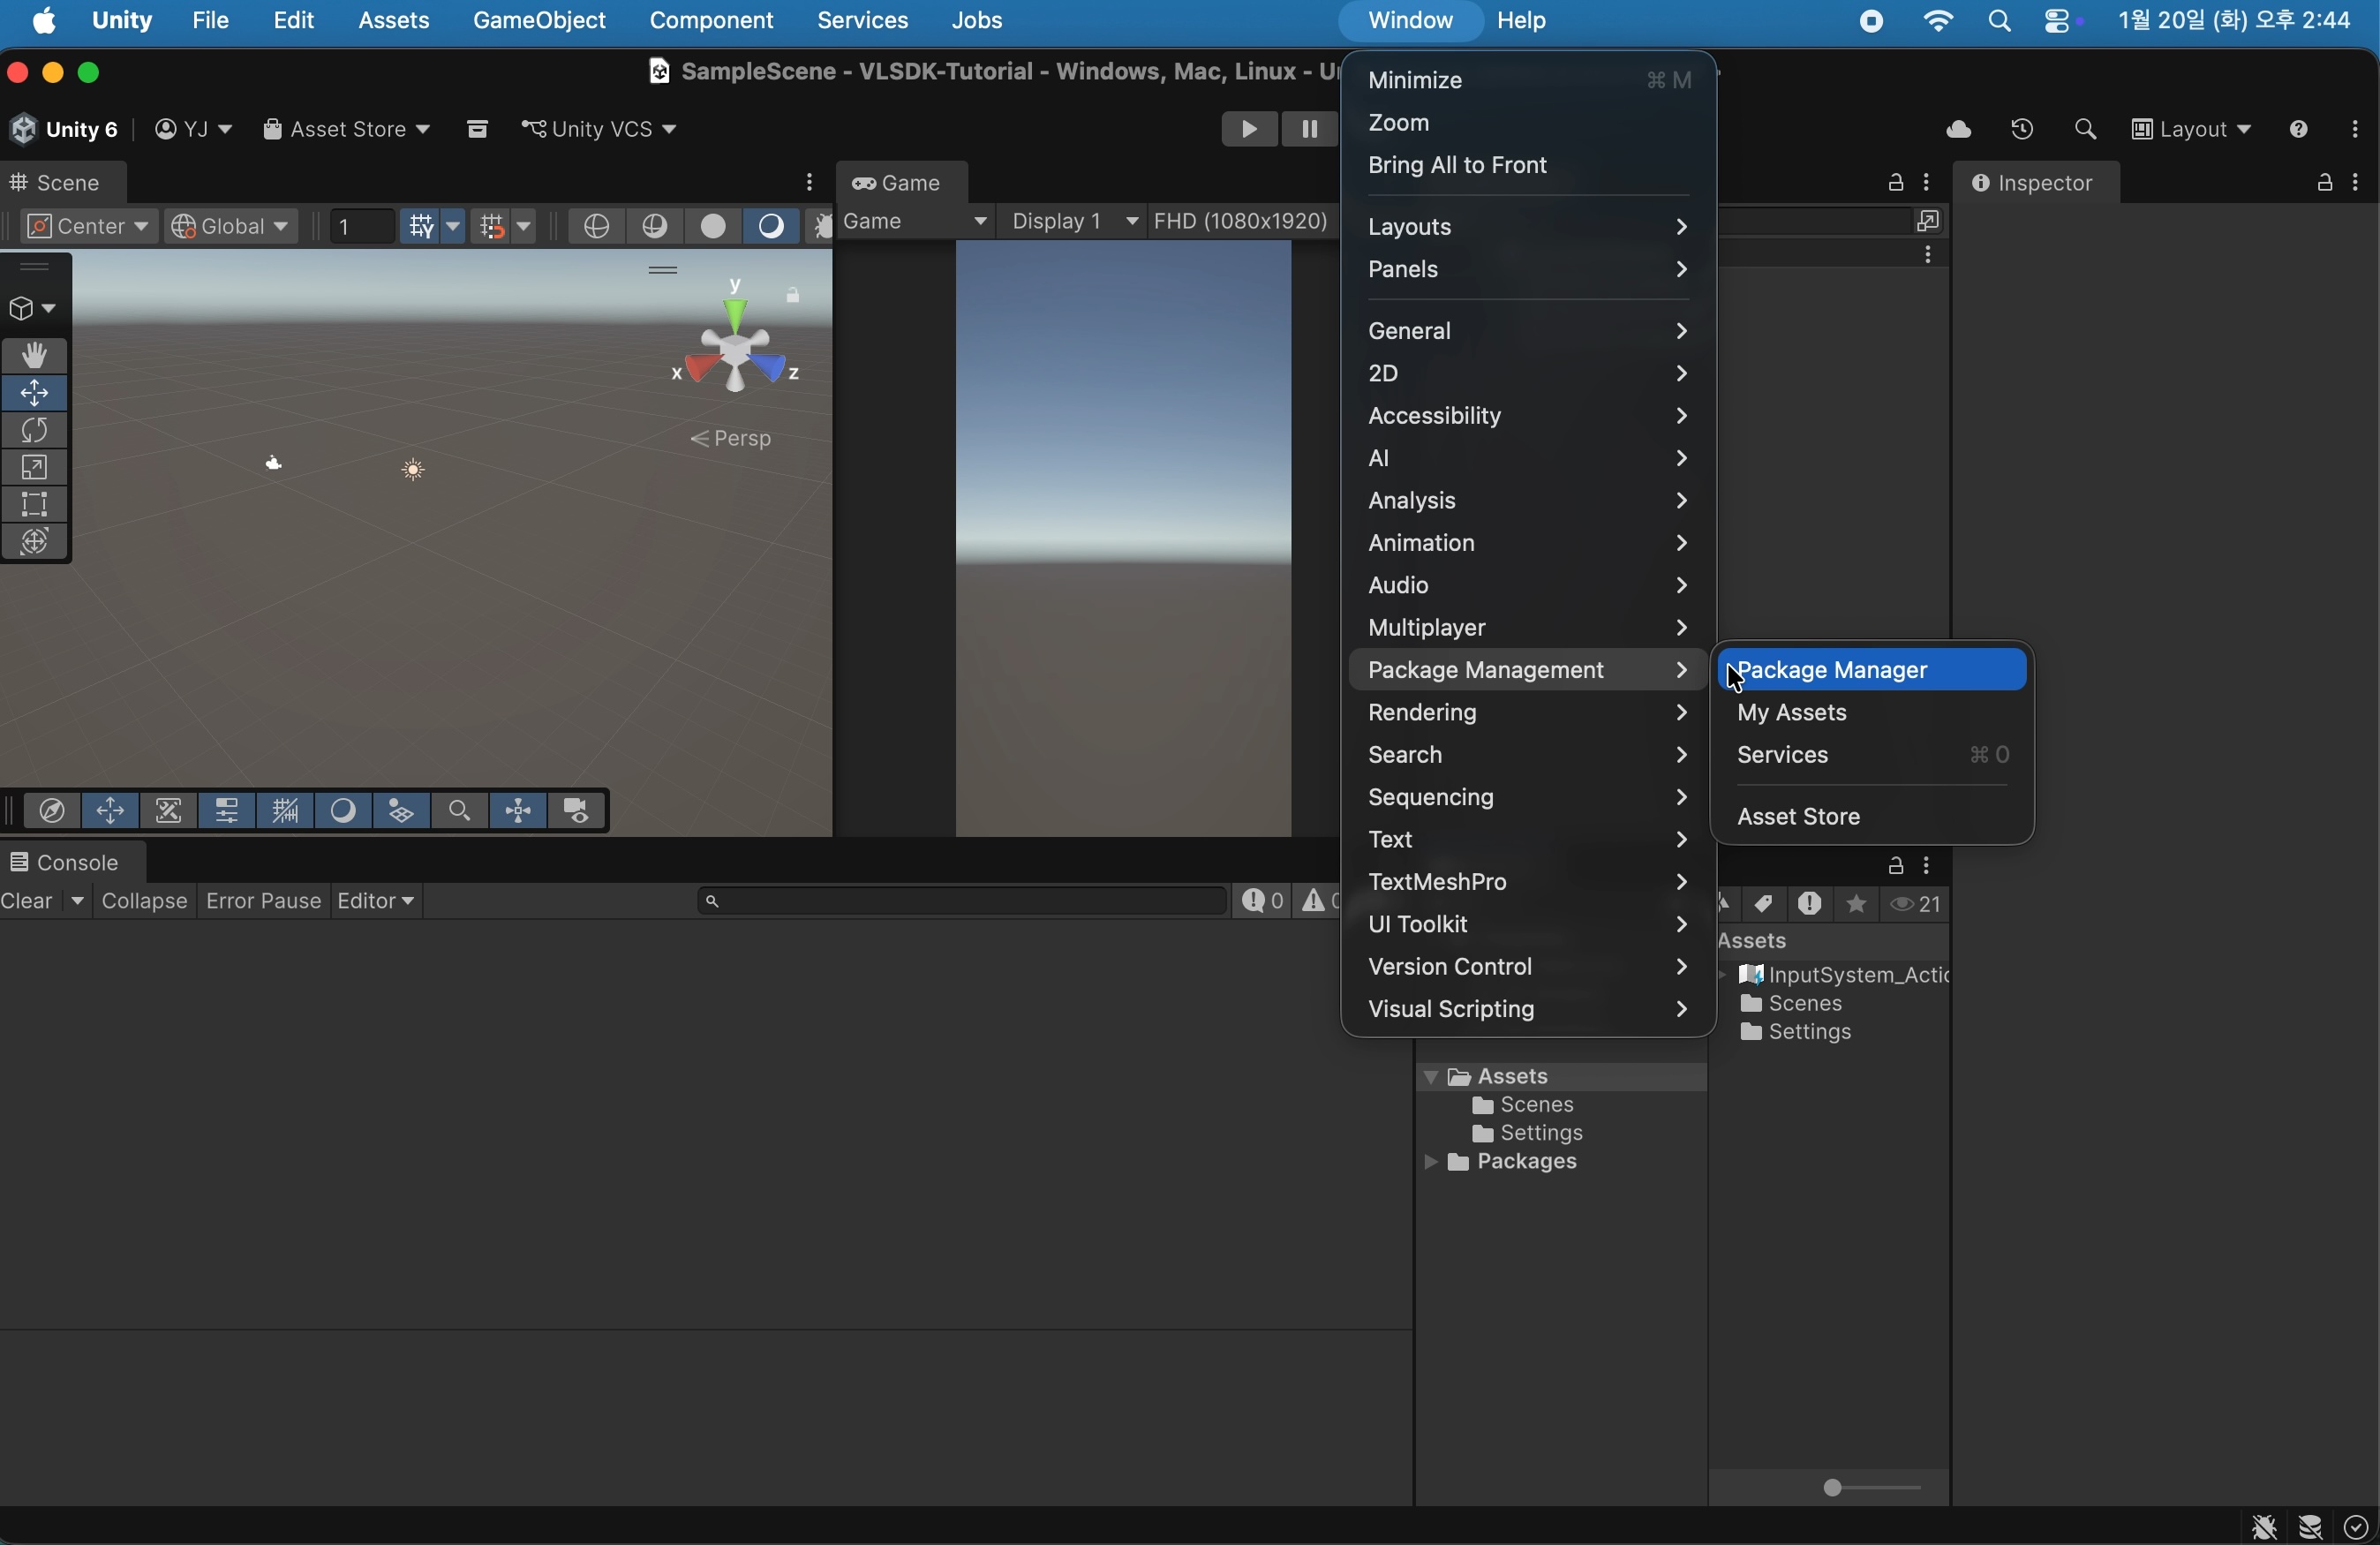
1.2 Add VLSDK
- Select
Window>Package Management>Package Manager.
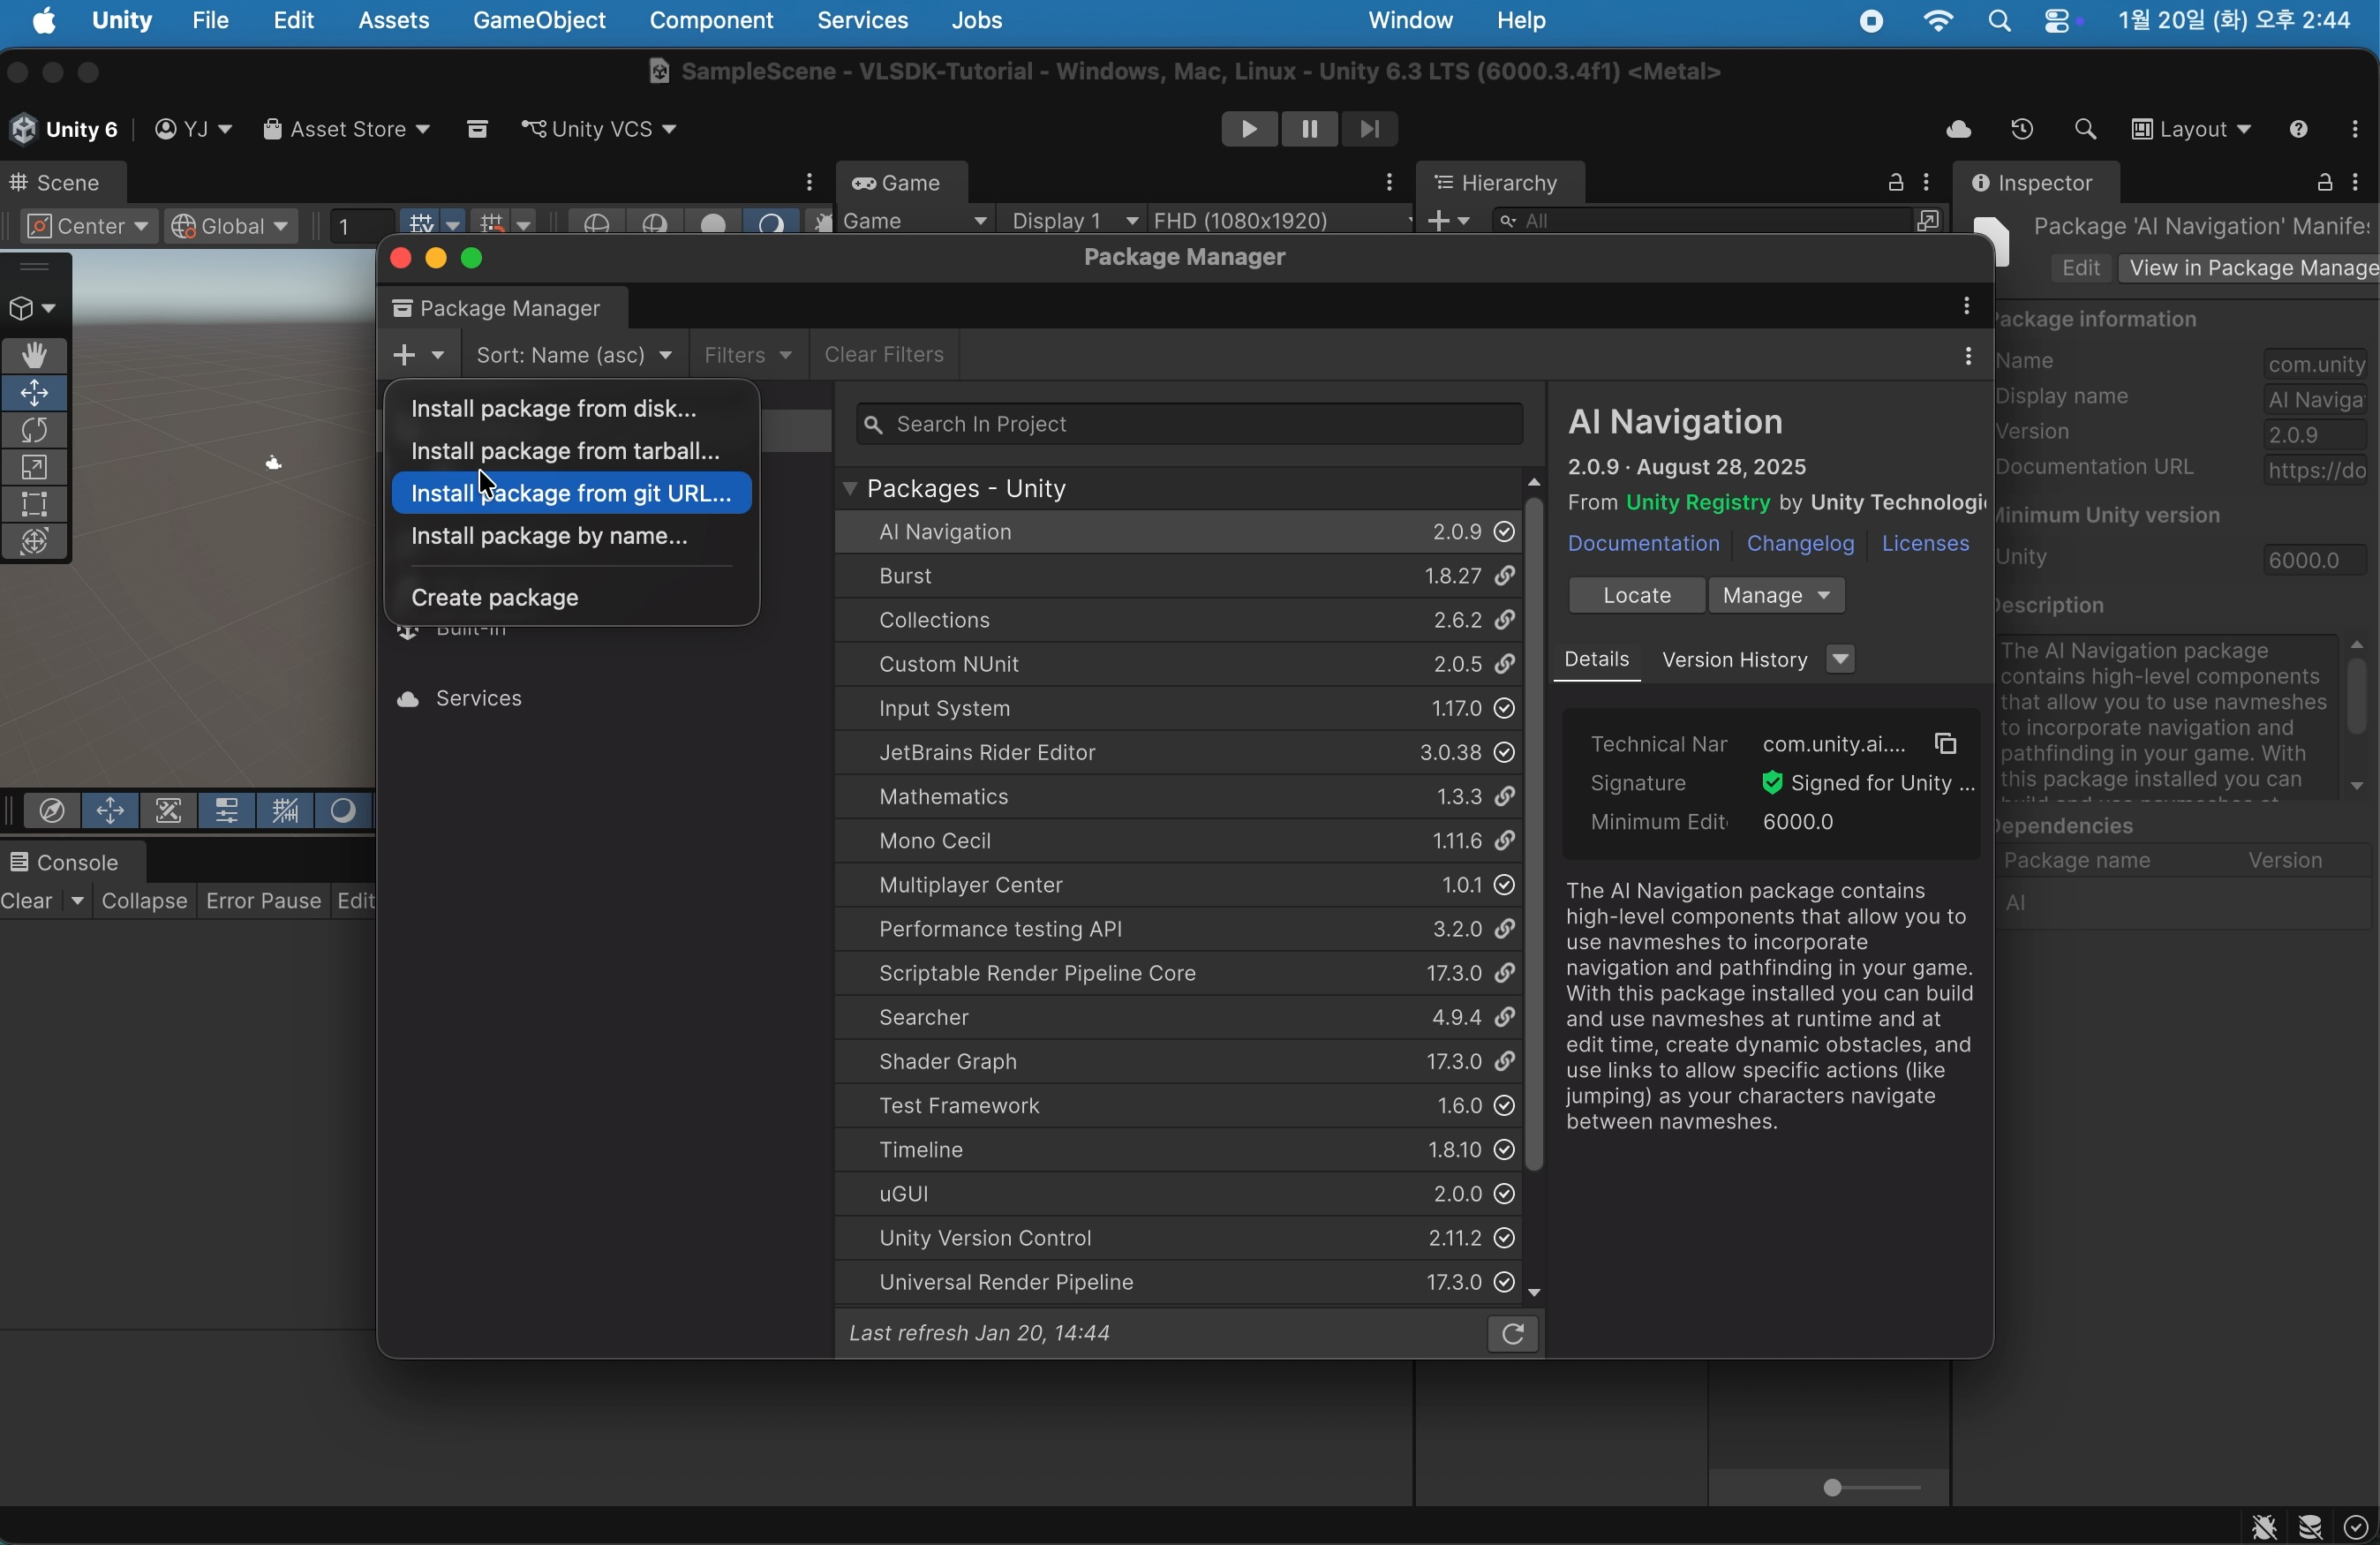
- Select
+>Install package from git URL.
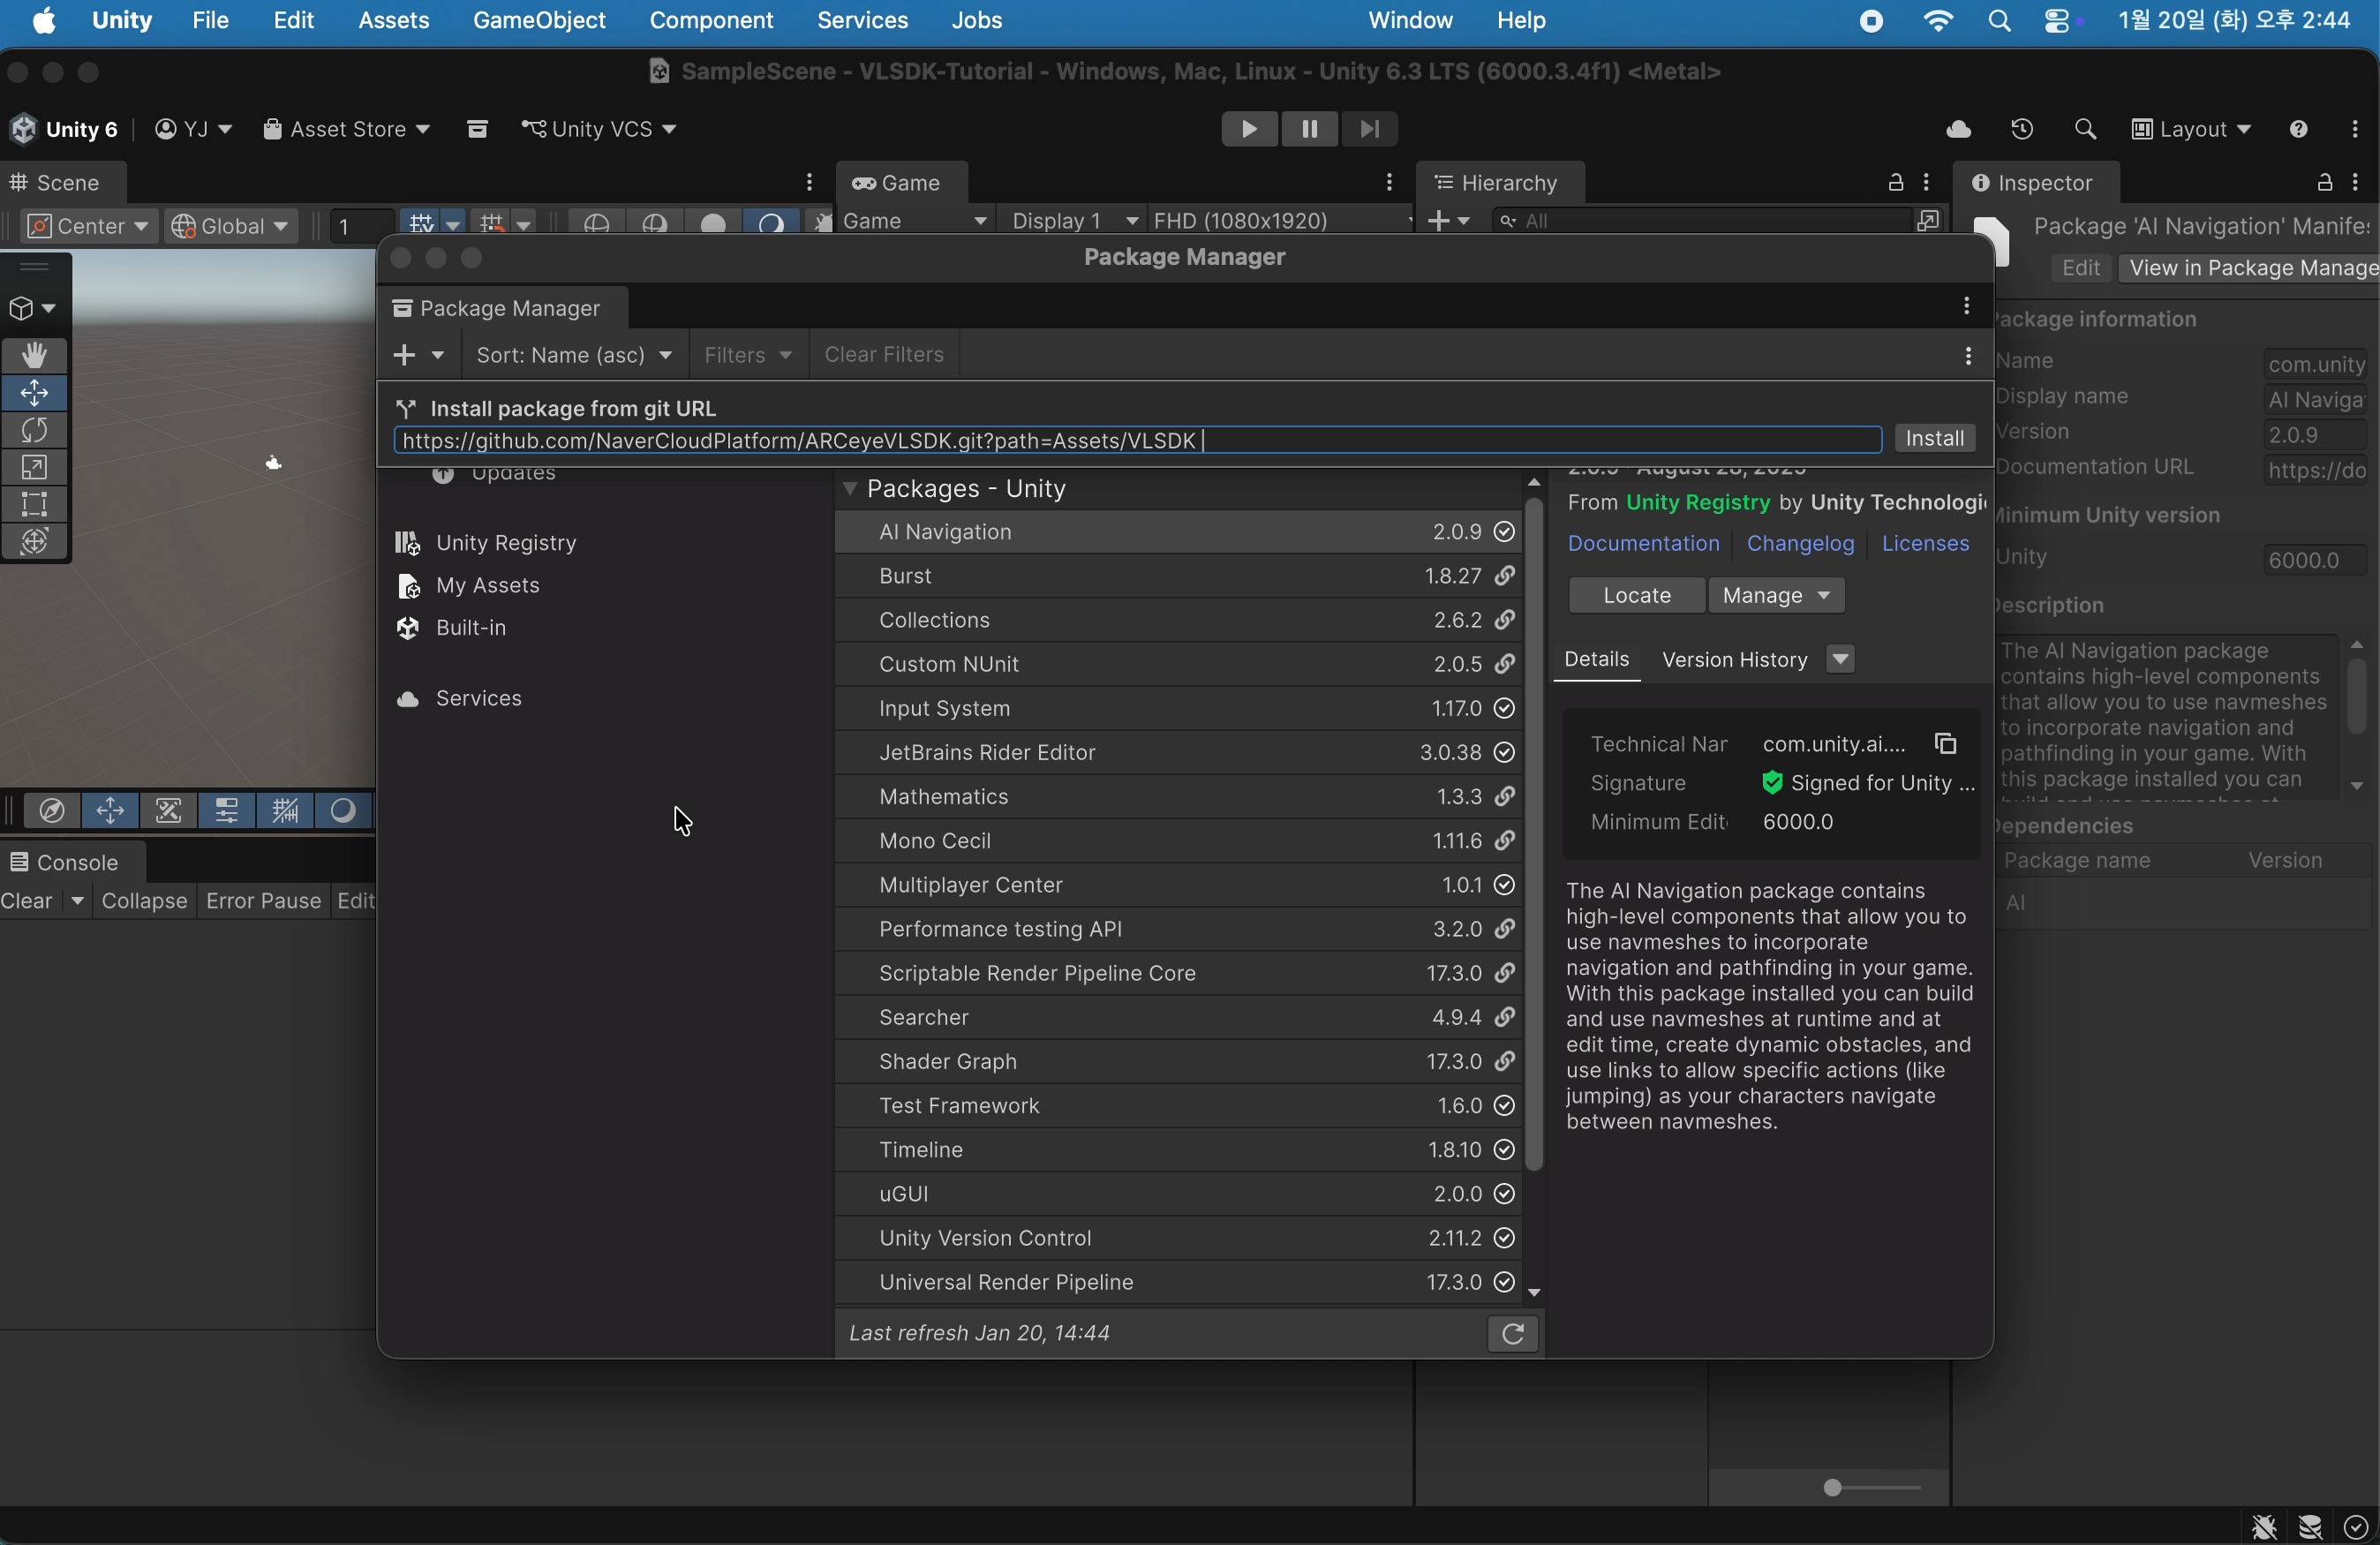
- Enter
https://github.com/NaverCloudPlatform/ARCeyeVLSDK.git?path=Assets/VLSDKin the input field and click theInstallbutton. Various required packages will be installed when you click theInstallbutton.
2. Initialize VLSDK
To use the VLSDK, the following essential elements must be added to the scene in this order:
- ARFoundation's
AR SessionandXR Origin VLSDKSettings.assetVLSDKManager
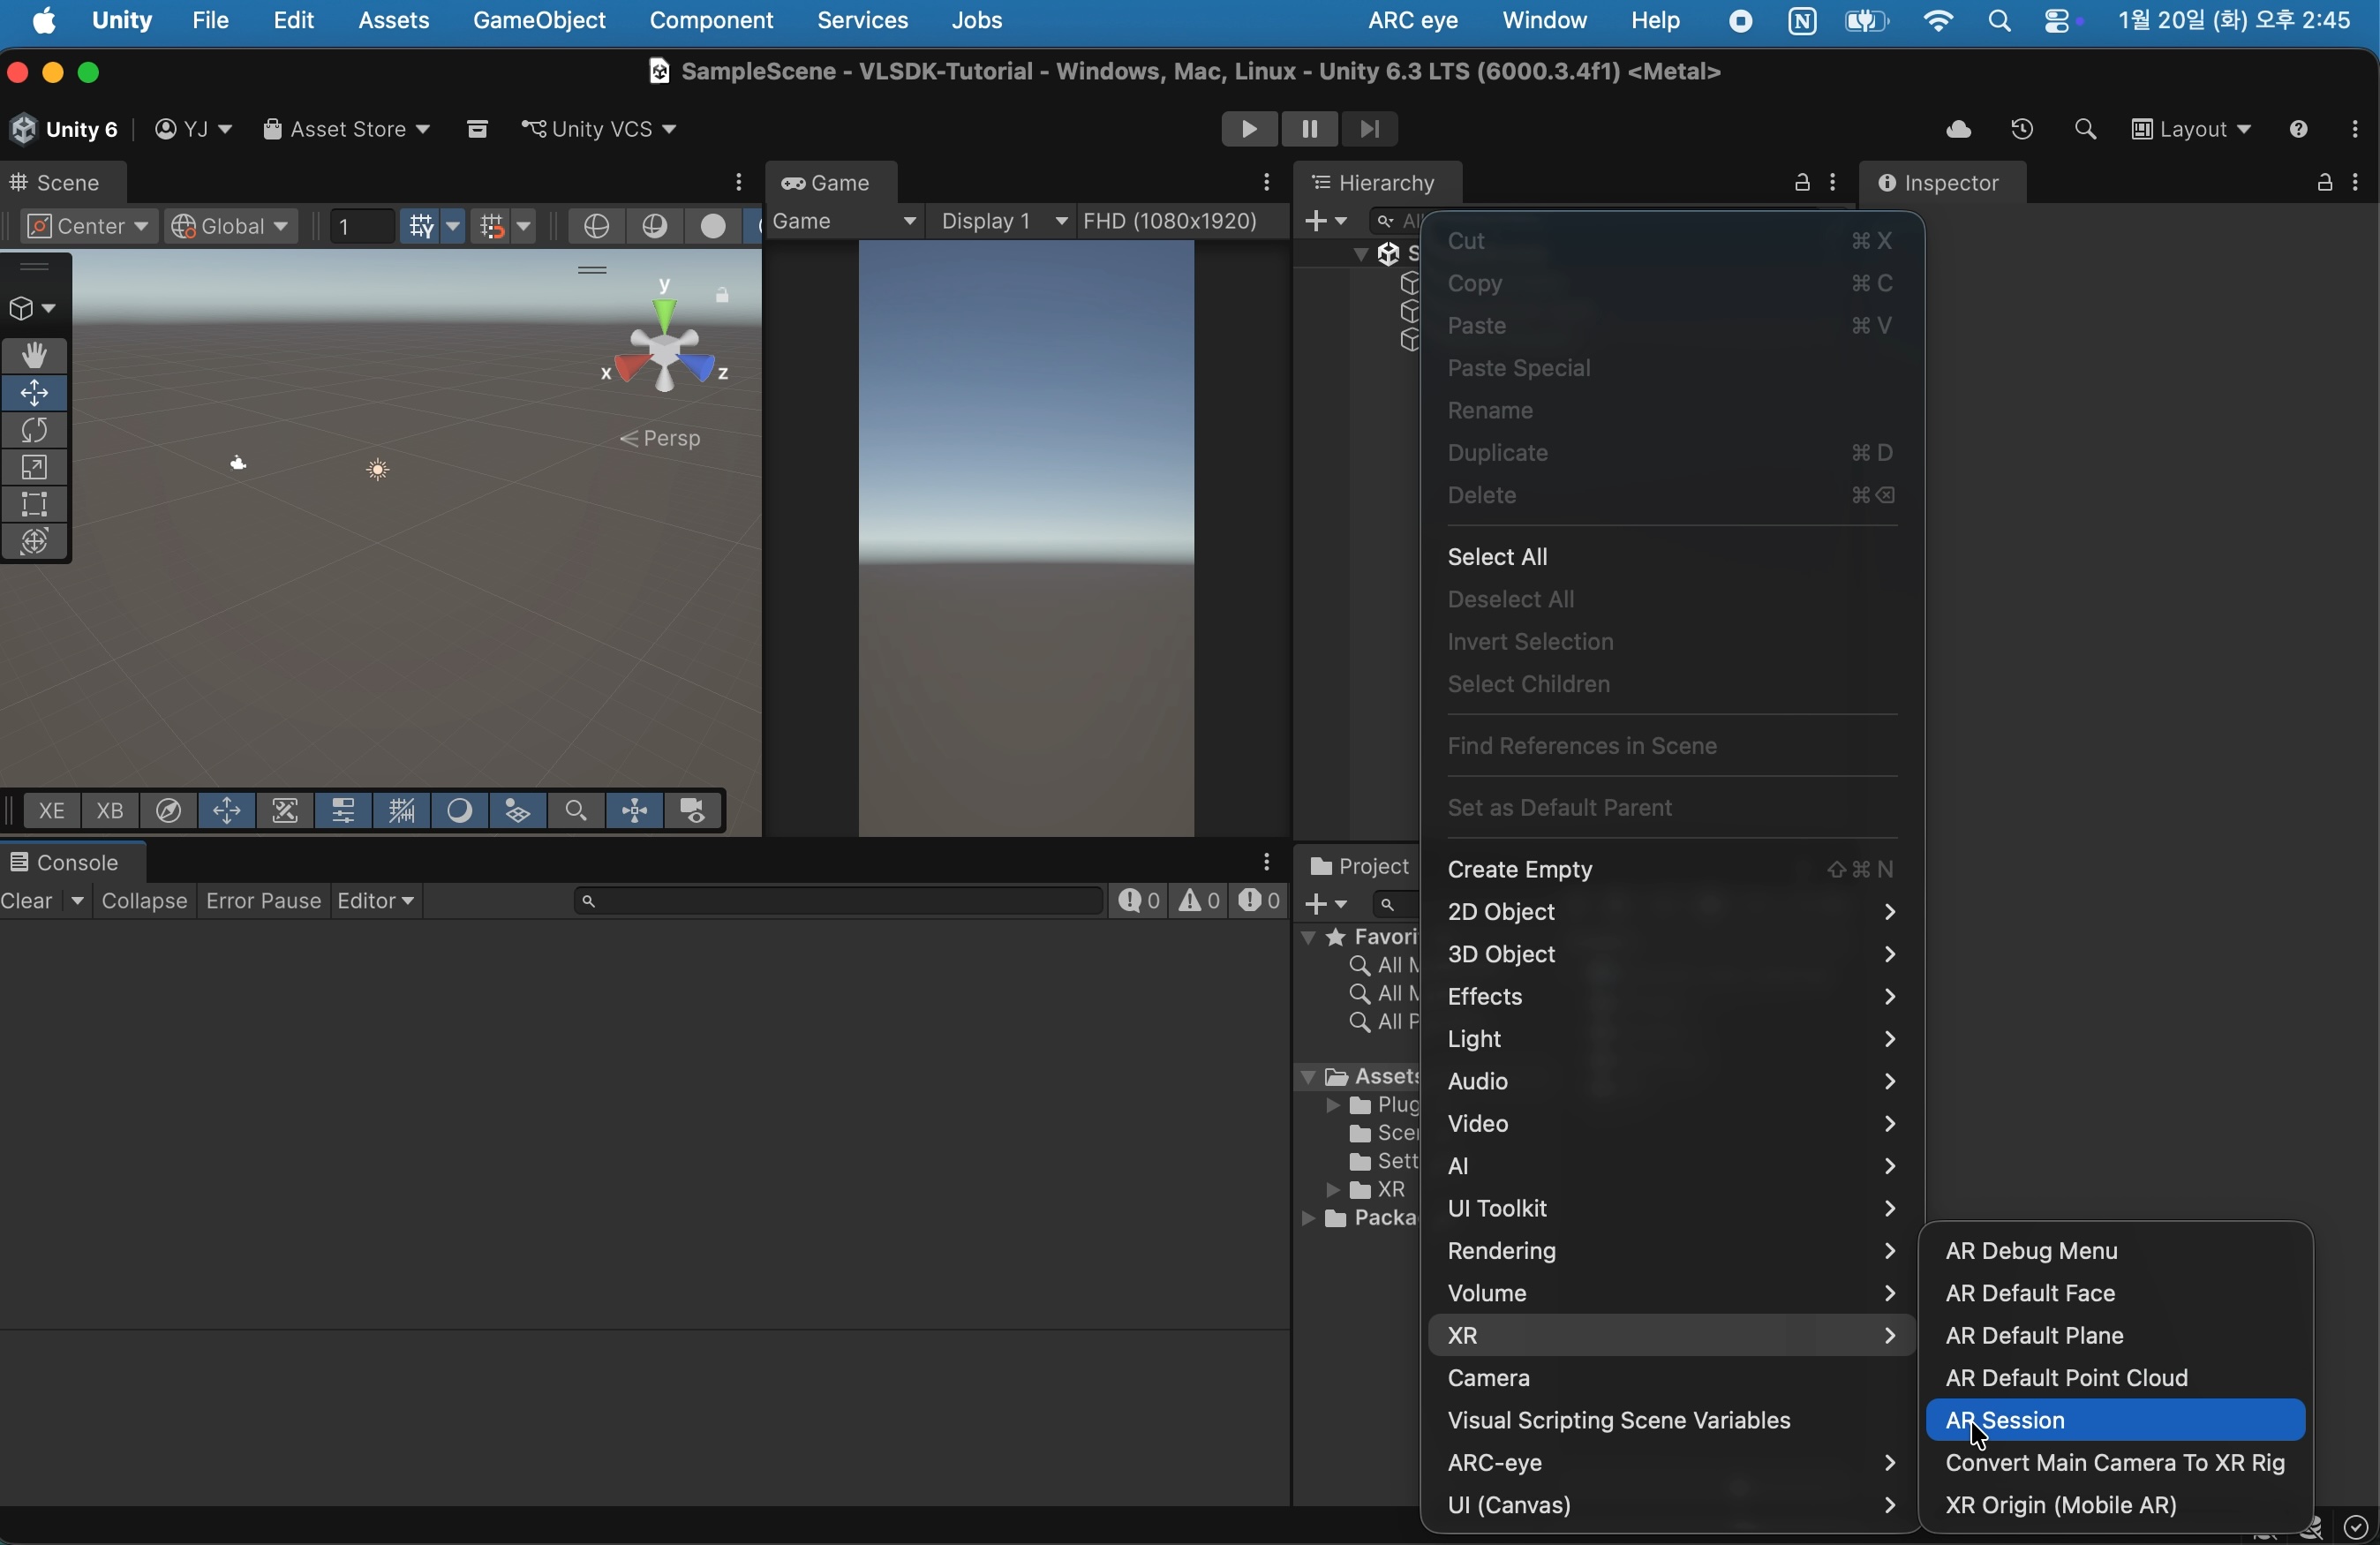
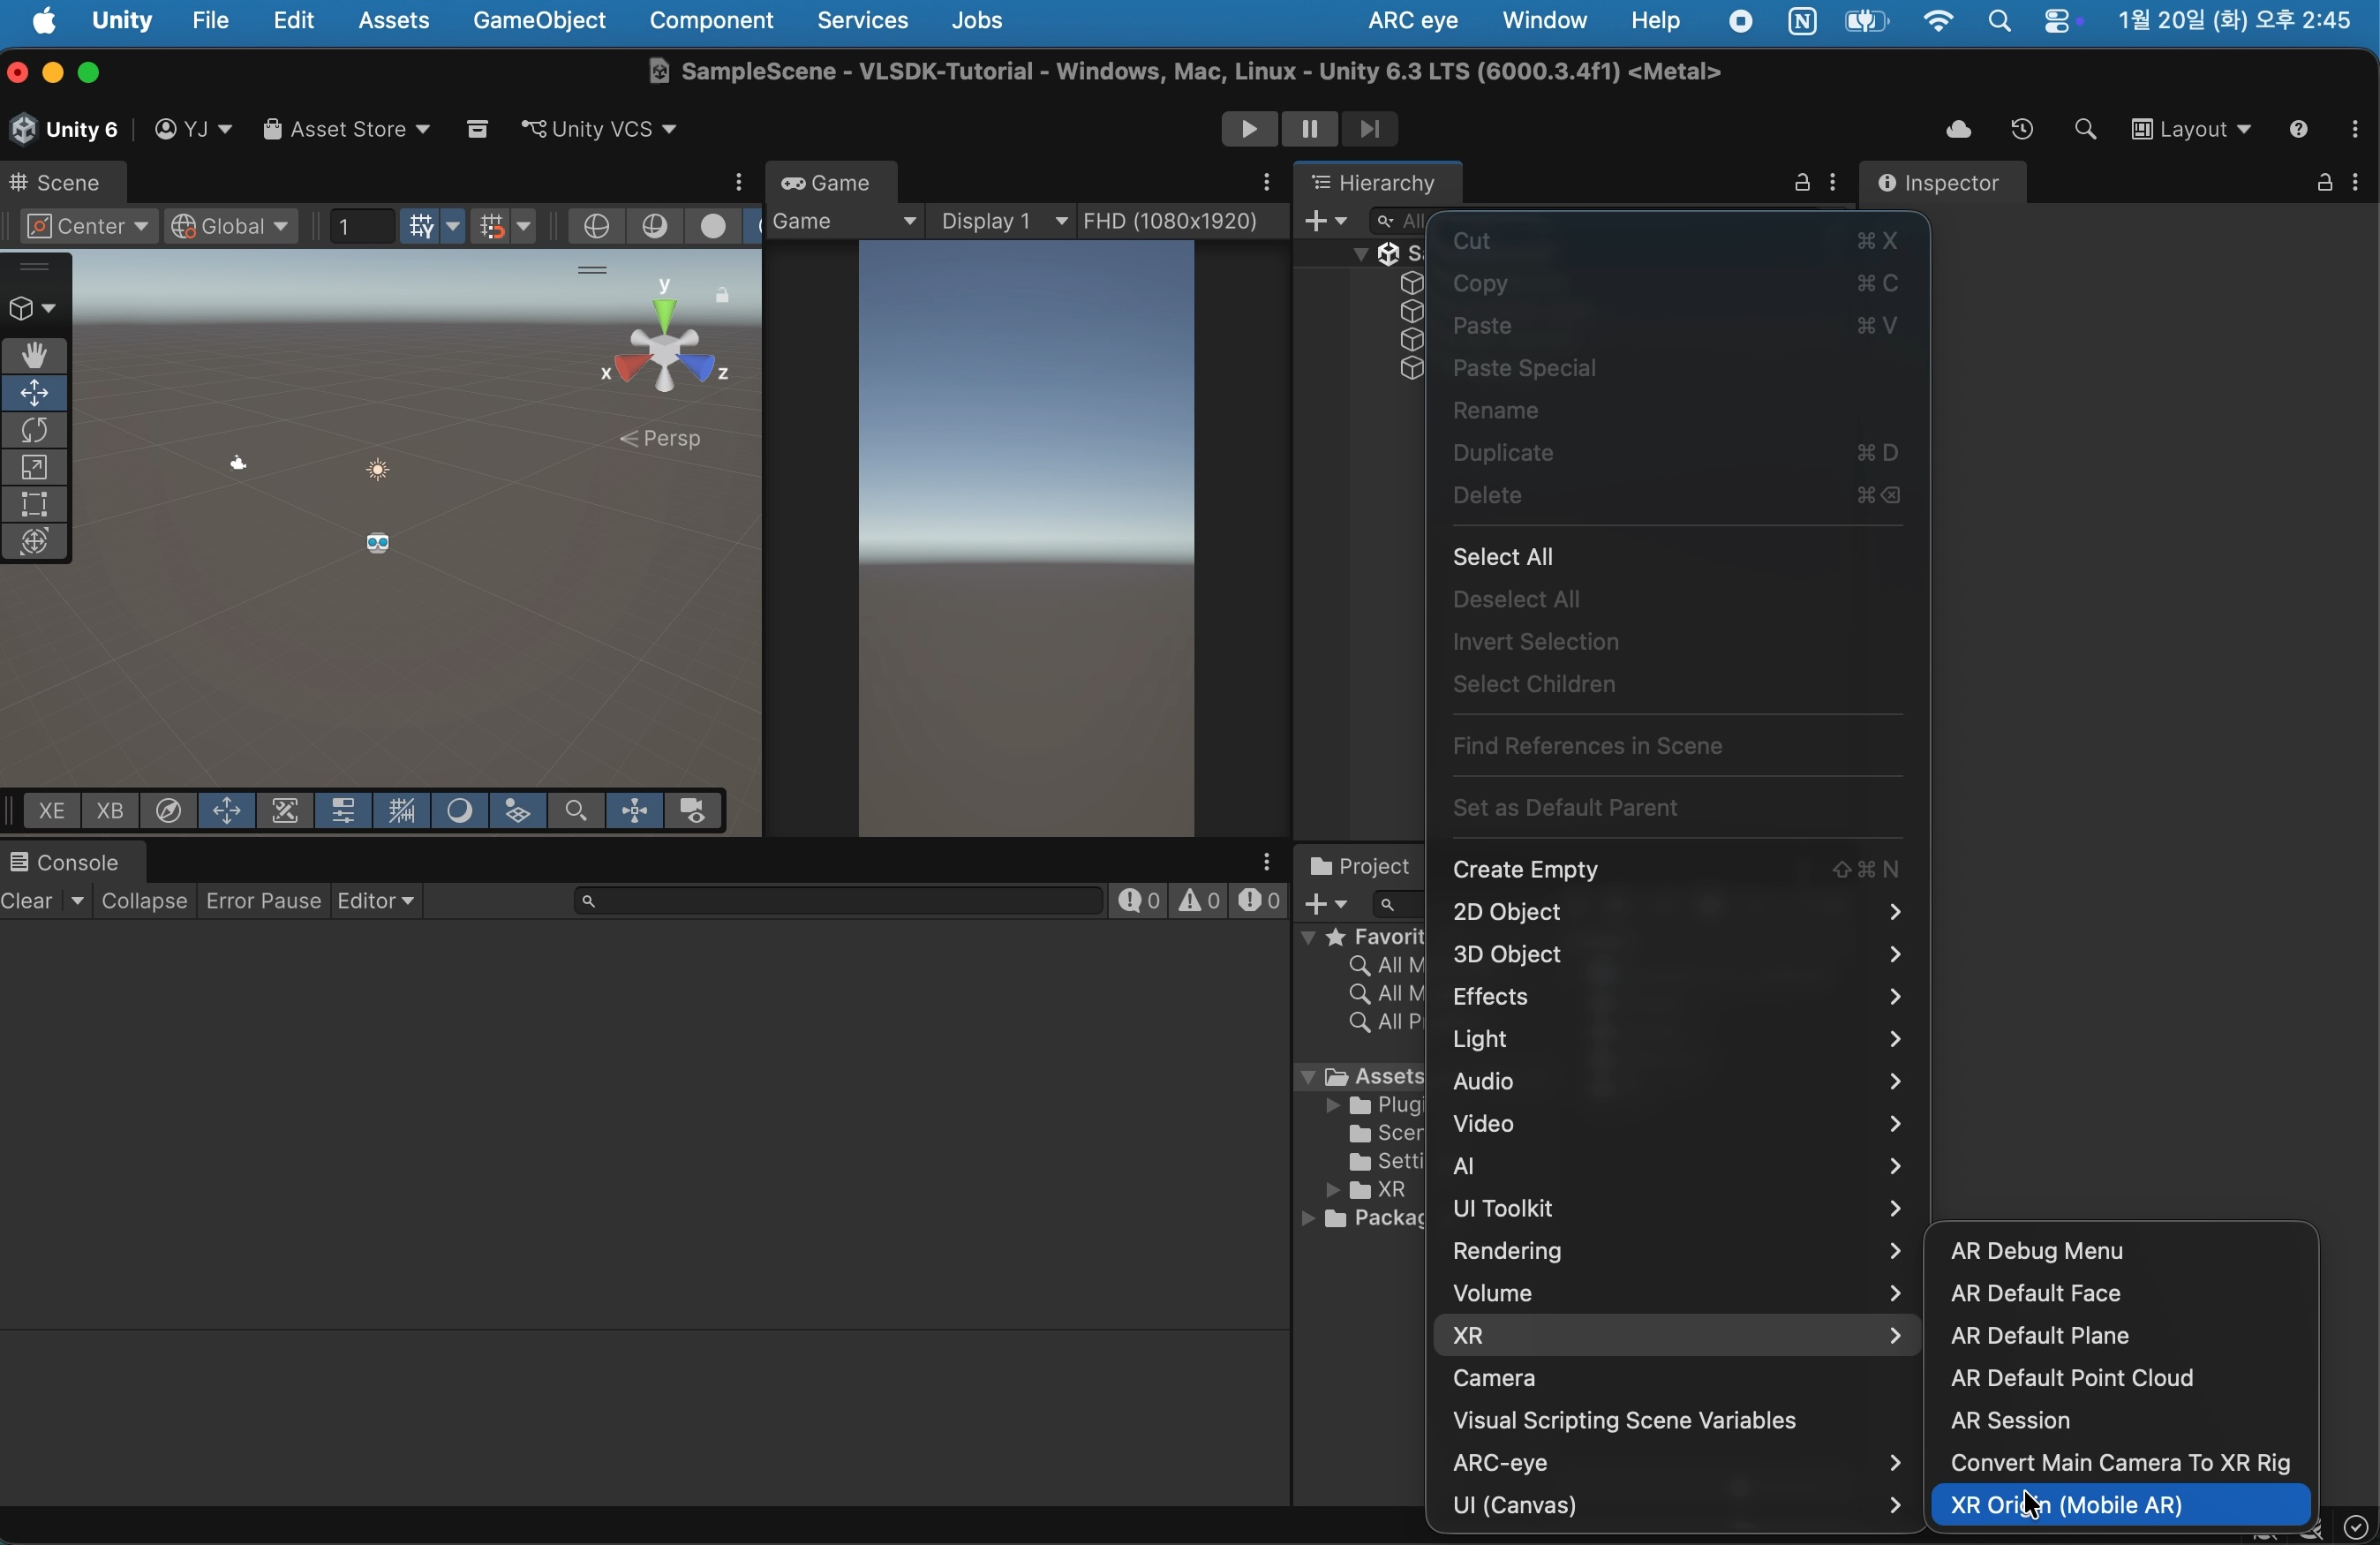
2.1 Add ARSession and XR Origin
Select GameObject > XR > AR Session and GameObject > XR > XR Origin (Mobile AR) to add each object.
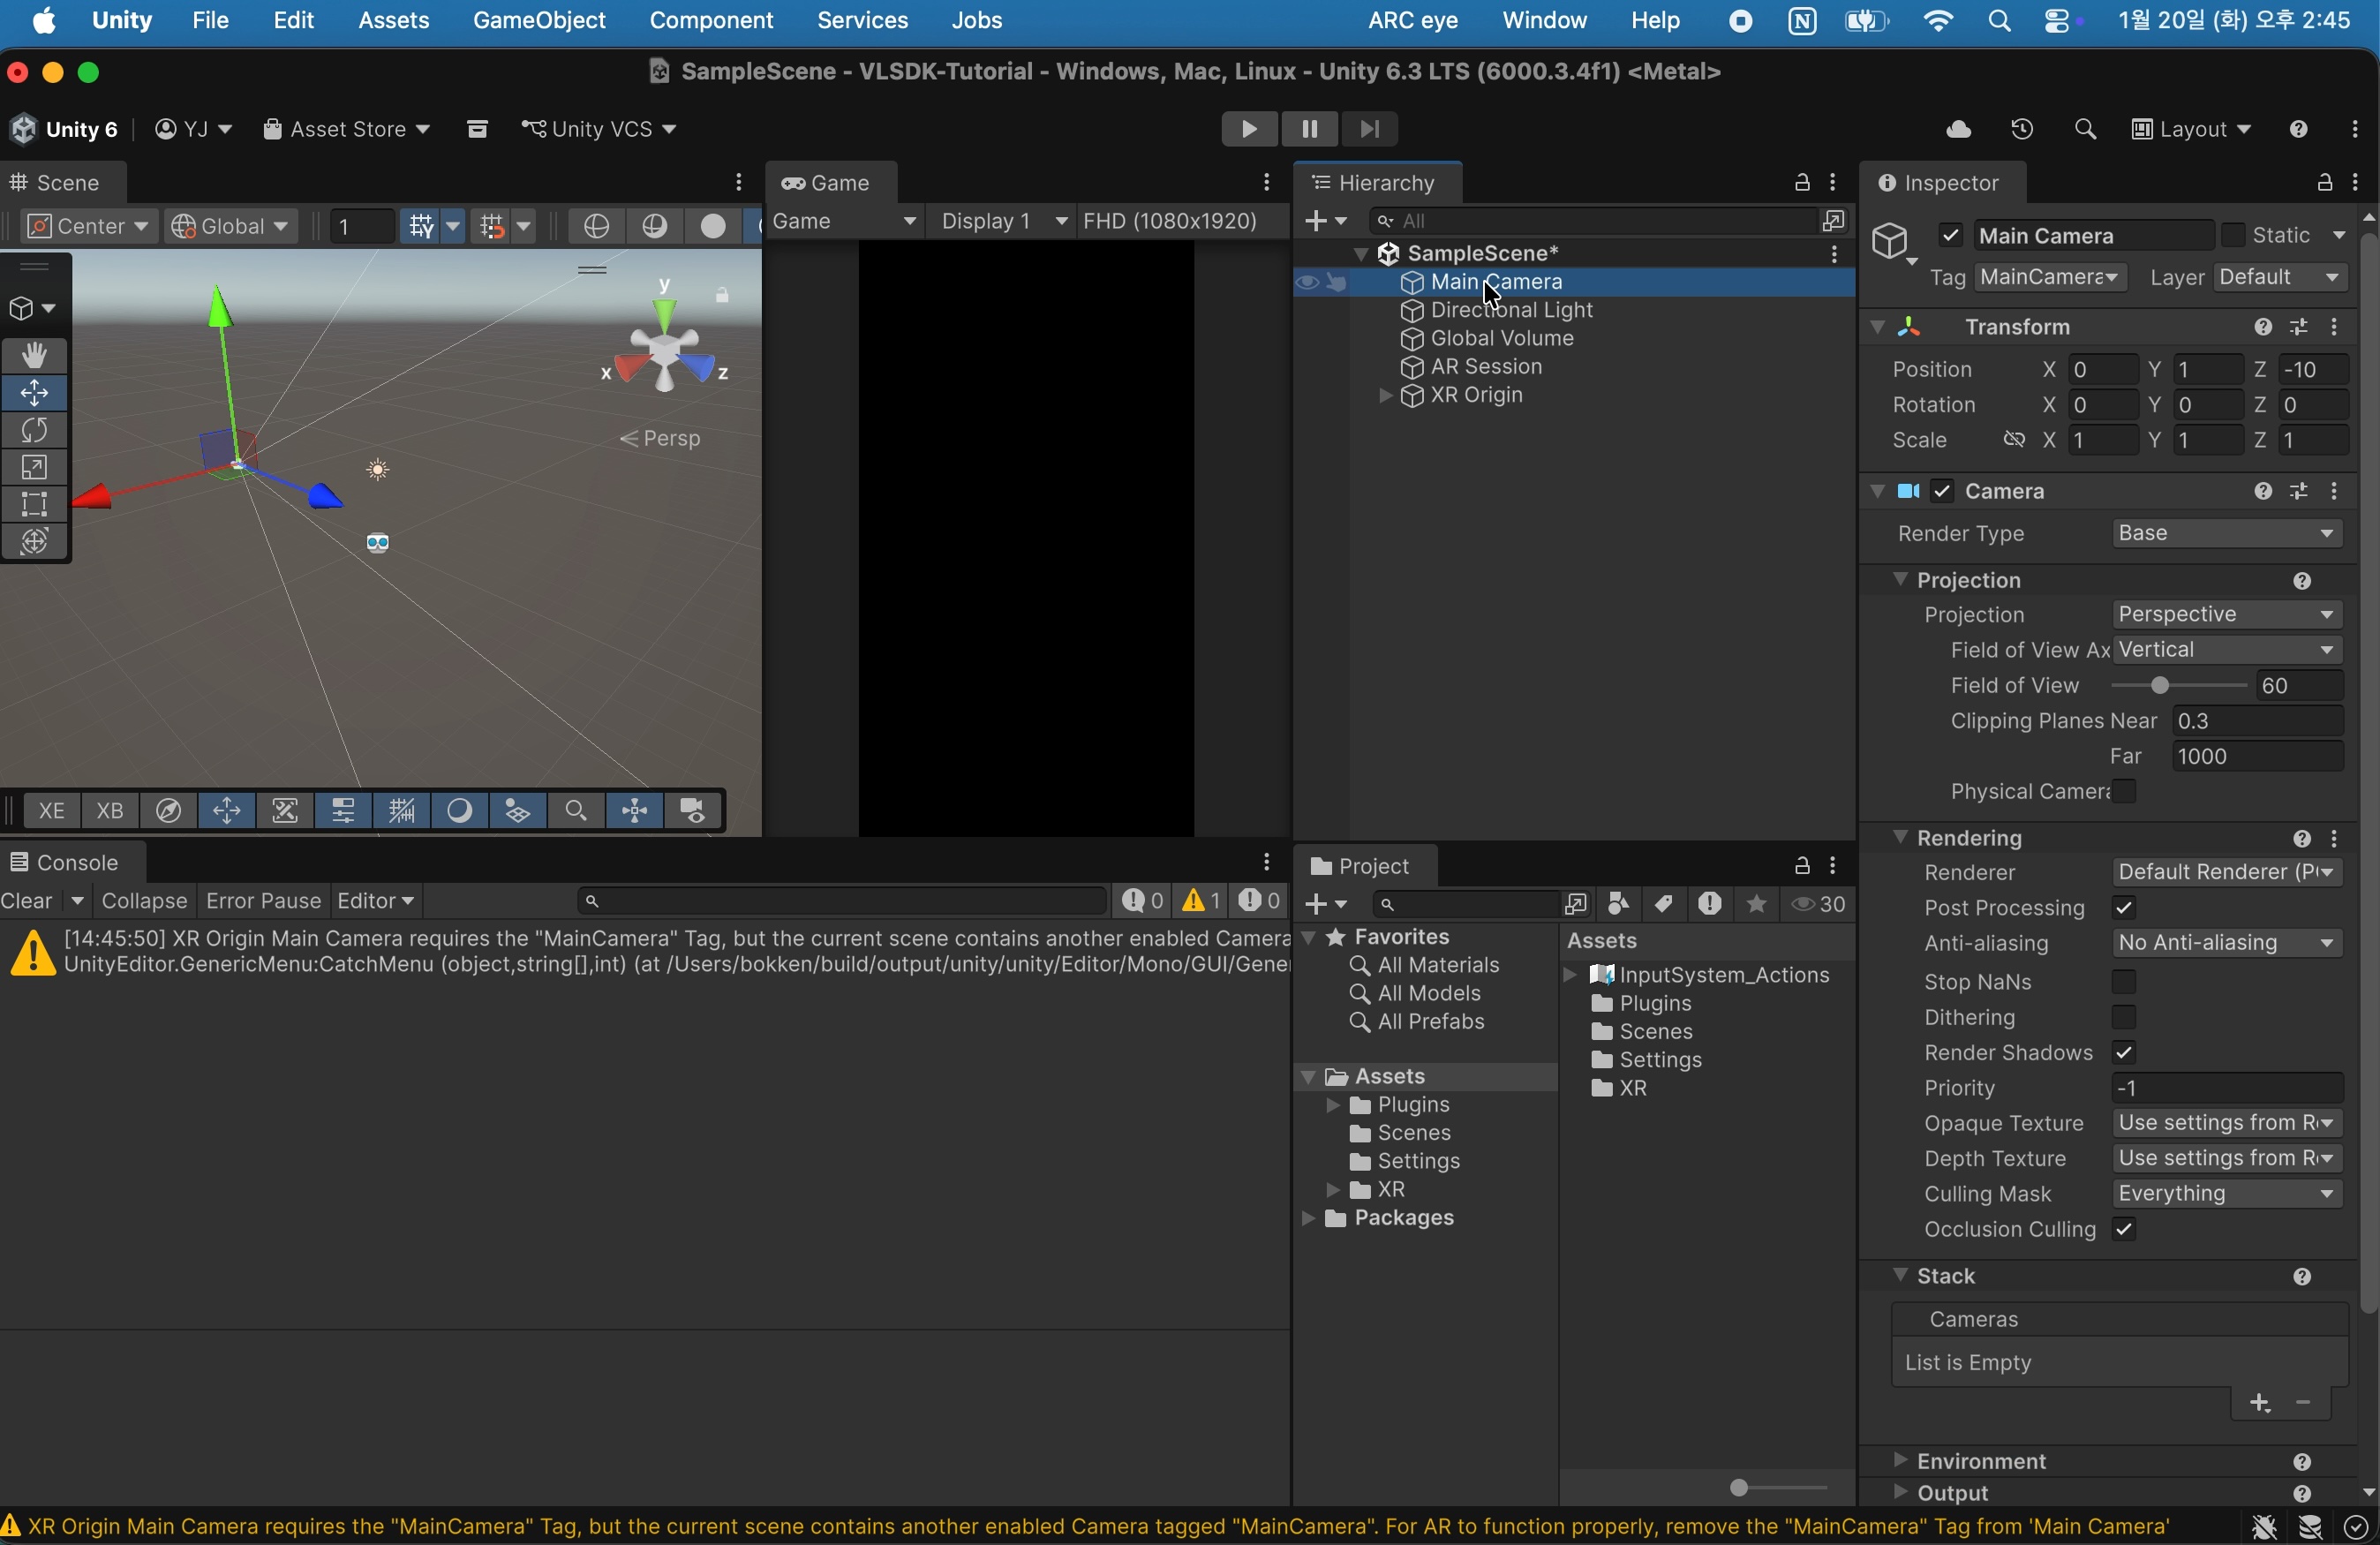
Delete the Main Camera. The Main Camera is included in the VLSDKManager that will be added later, so this prevents duplication.
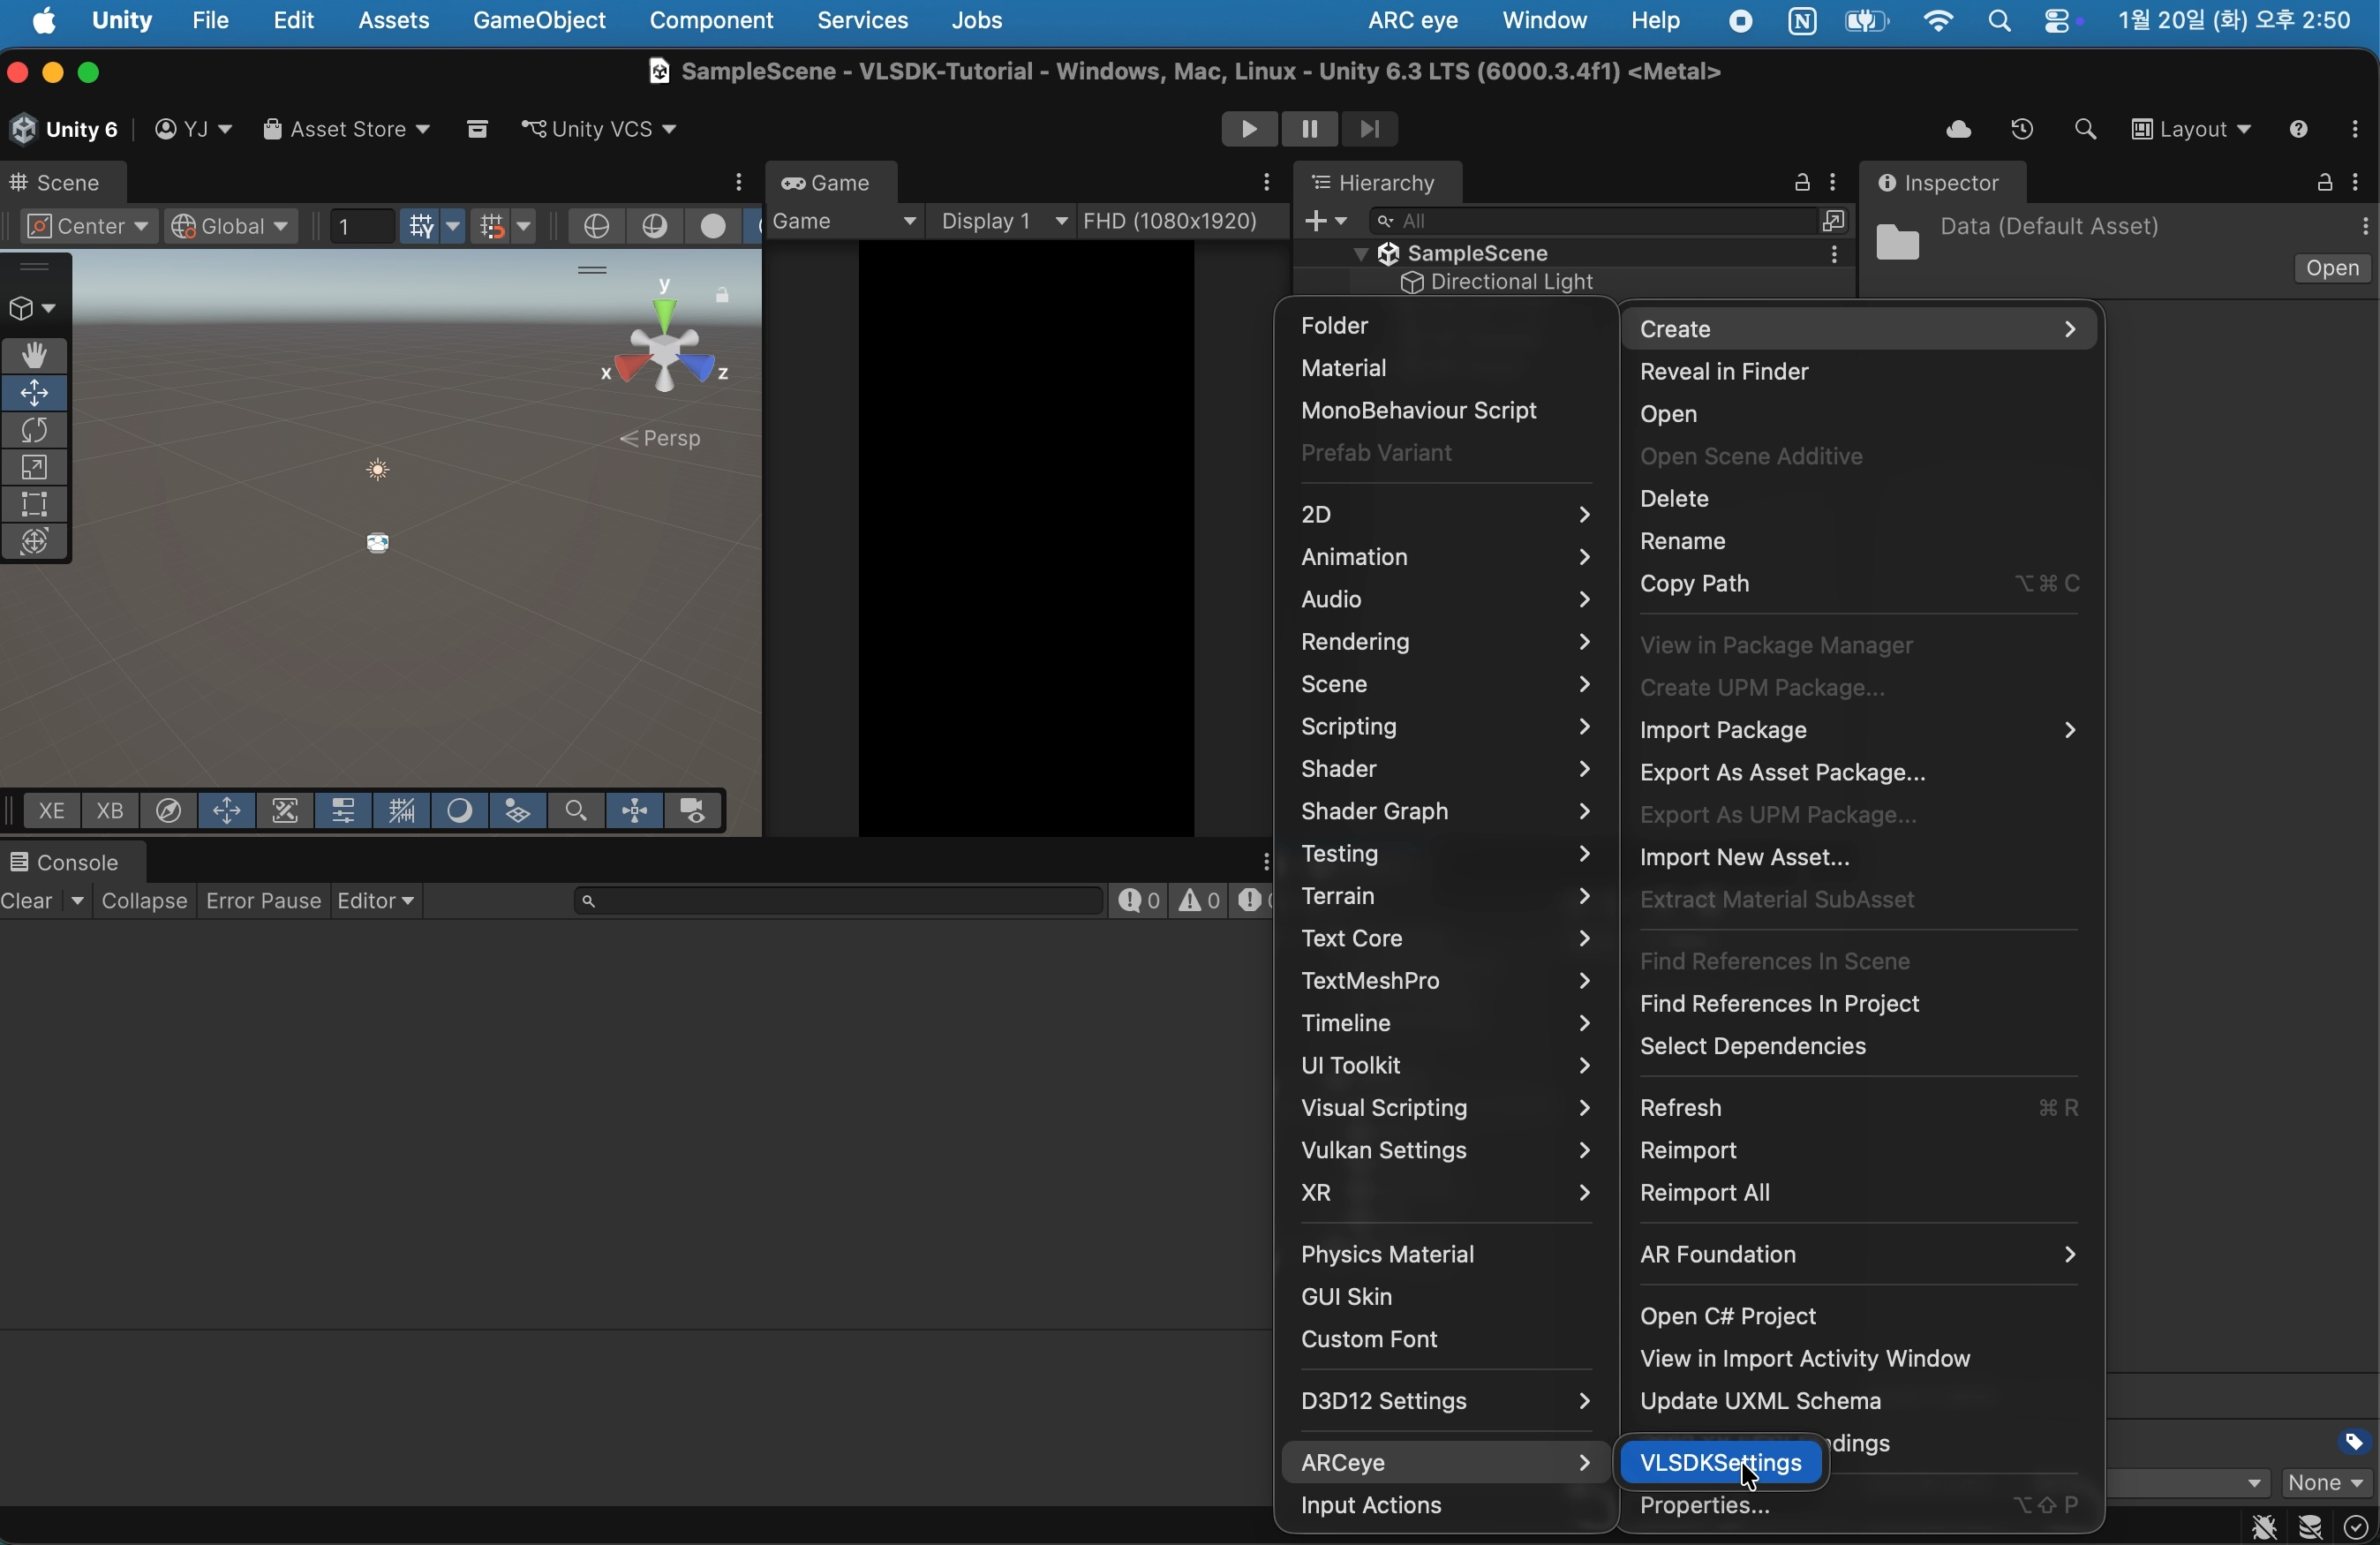
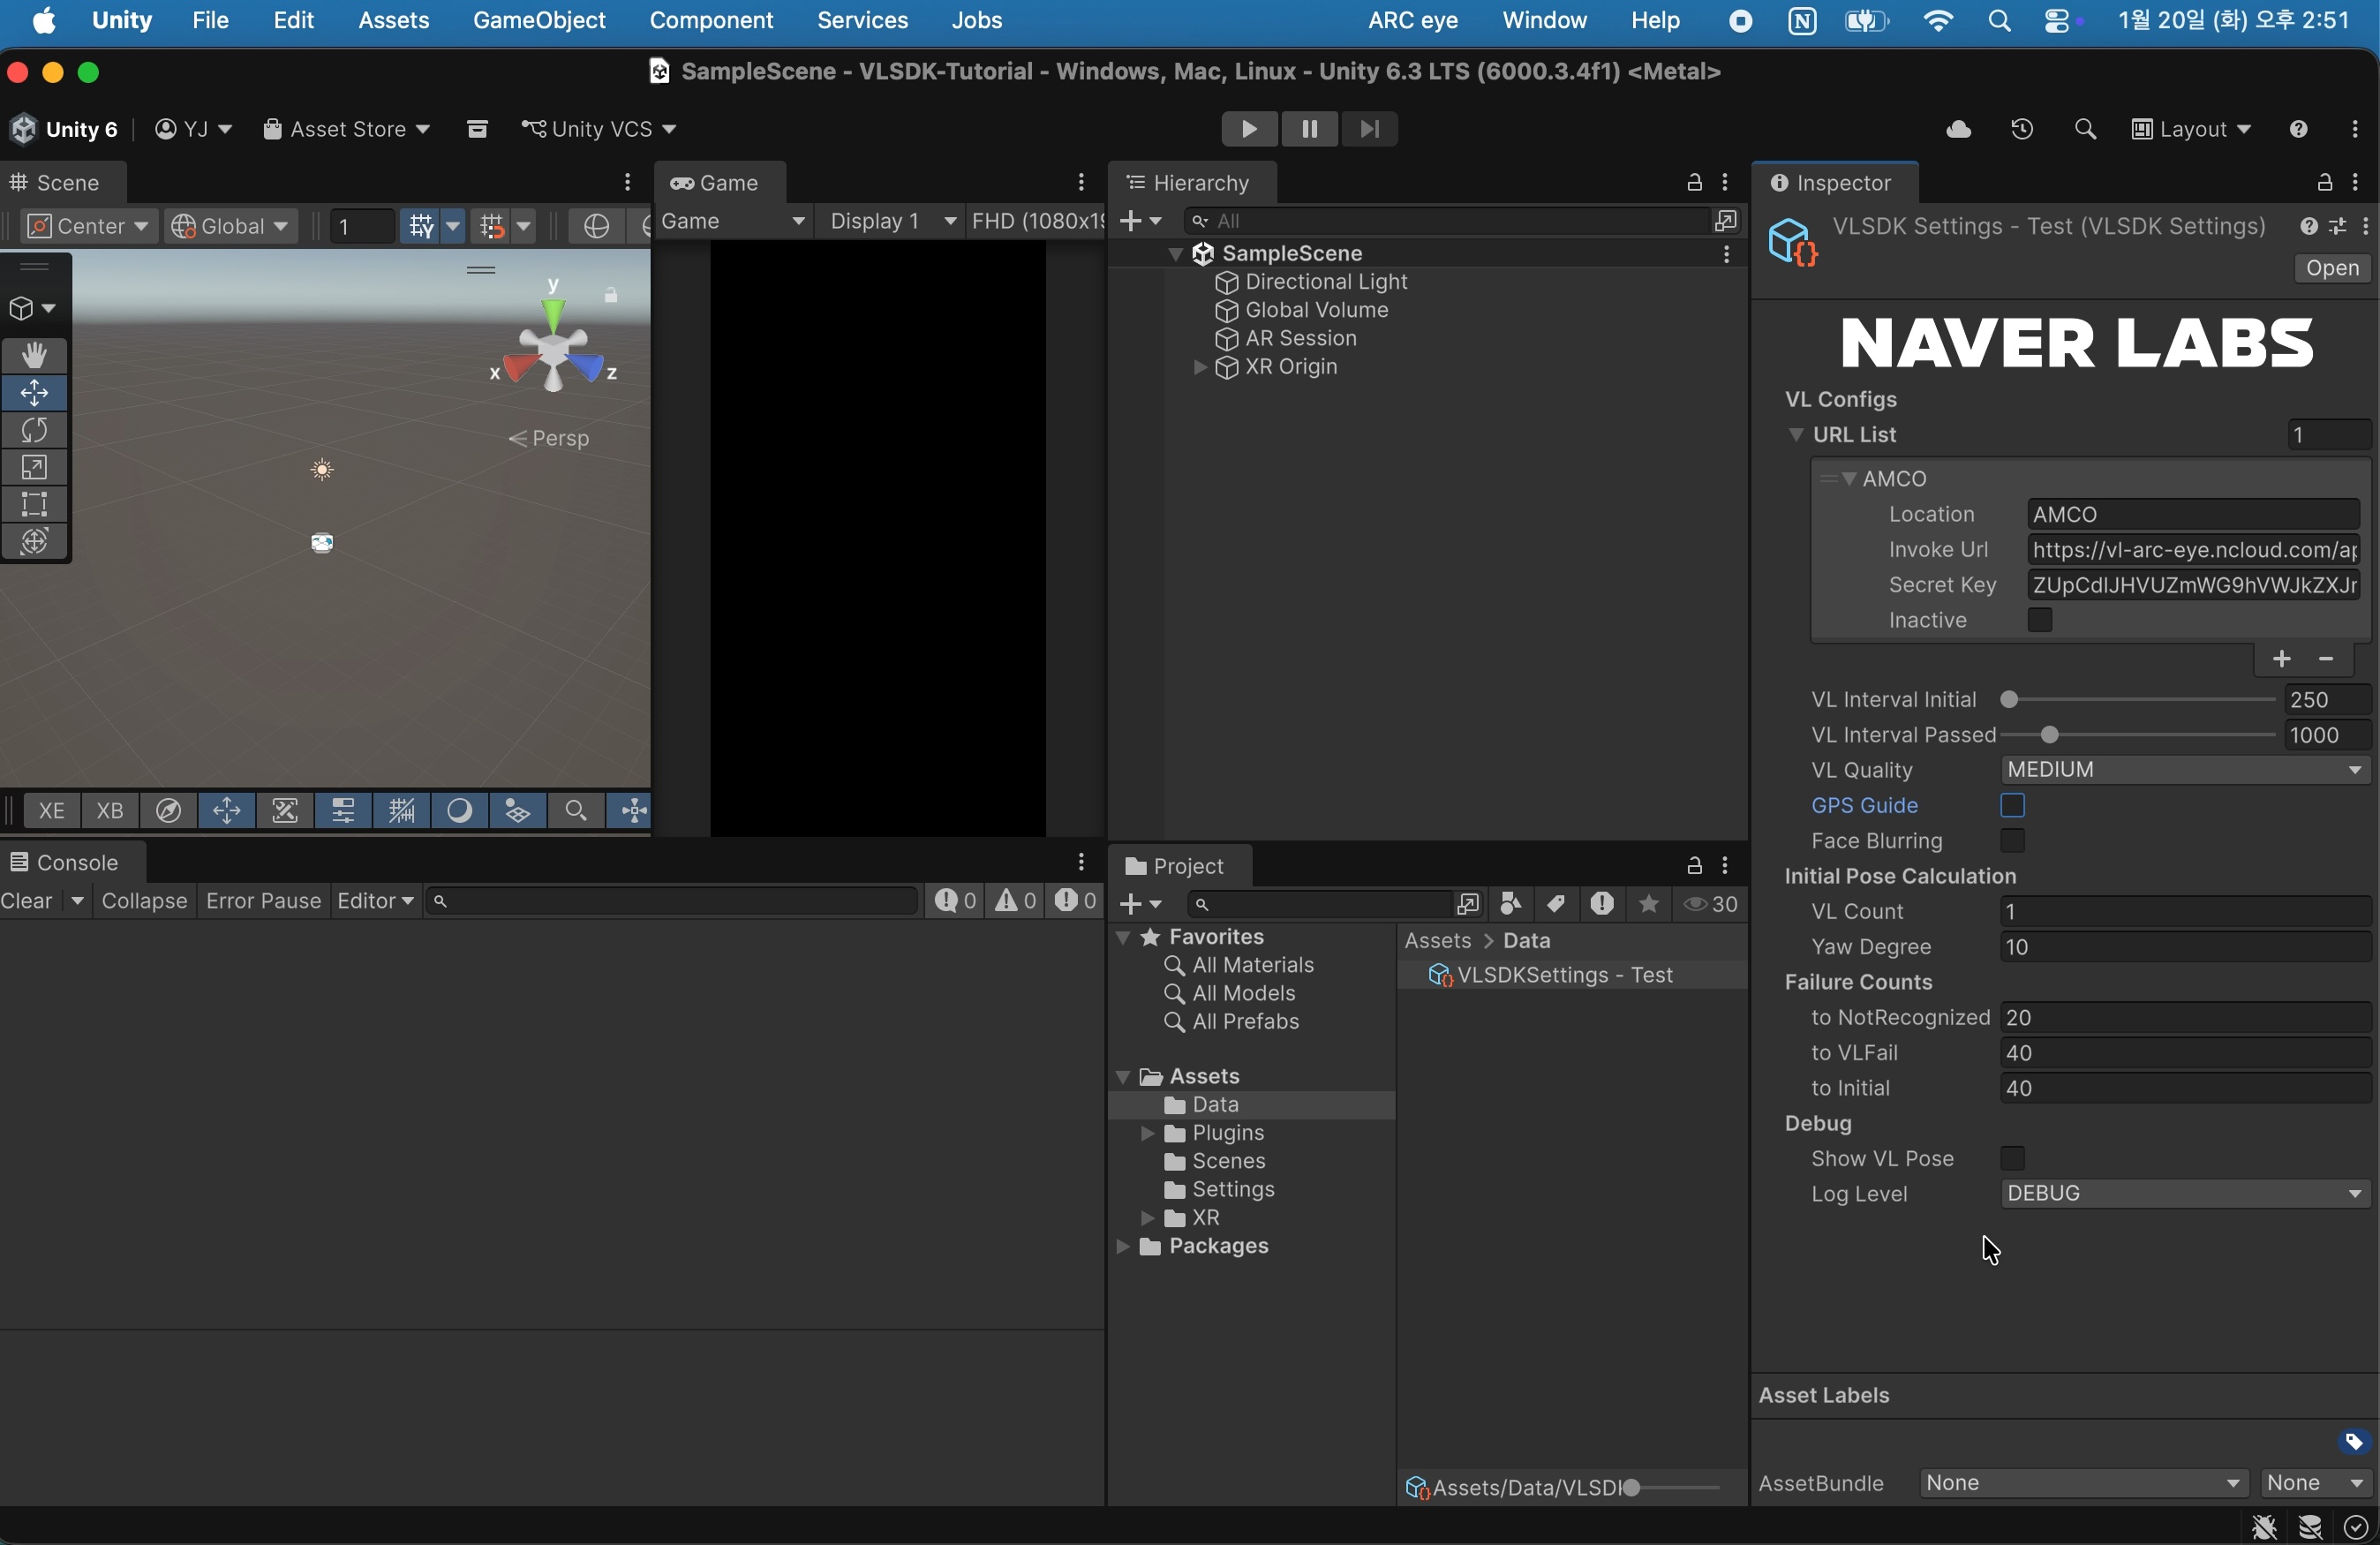
2.2 Add VLSDKSettings
Select Assets > Create > ARCeye > VLSDKSettings.
Press the + button in the URL List to add an item. Enter the Invoke Url and Secret Key in the added item. These values can be found in the ARC eye console. If you need a simple test, you can use the Invoke Url and Secret Key provided by the 1.Simple sample project.
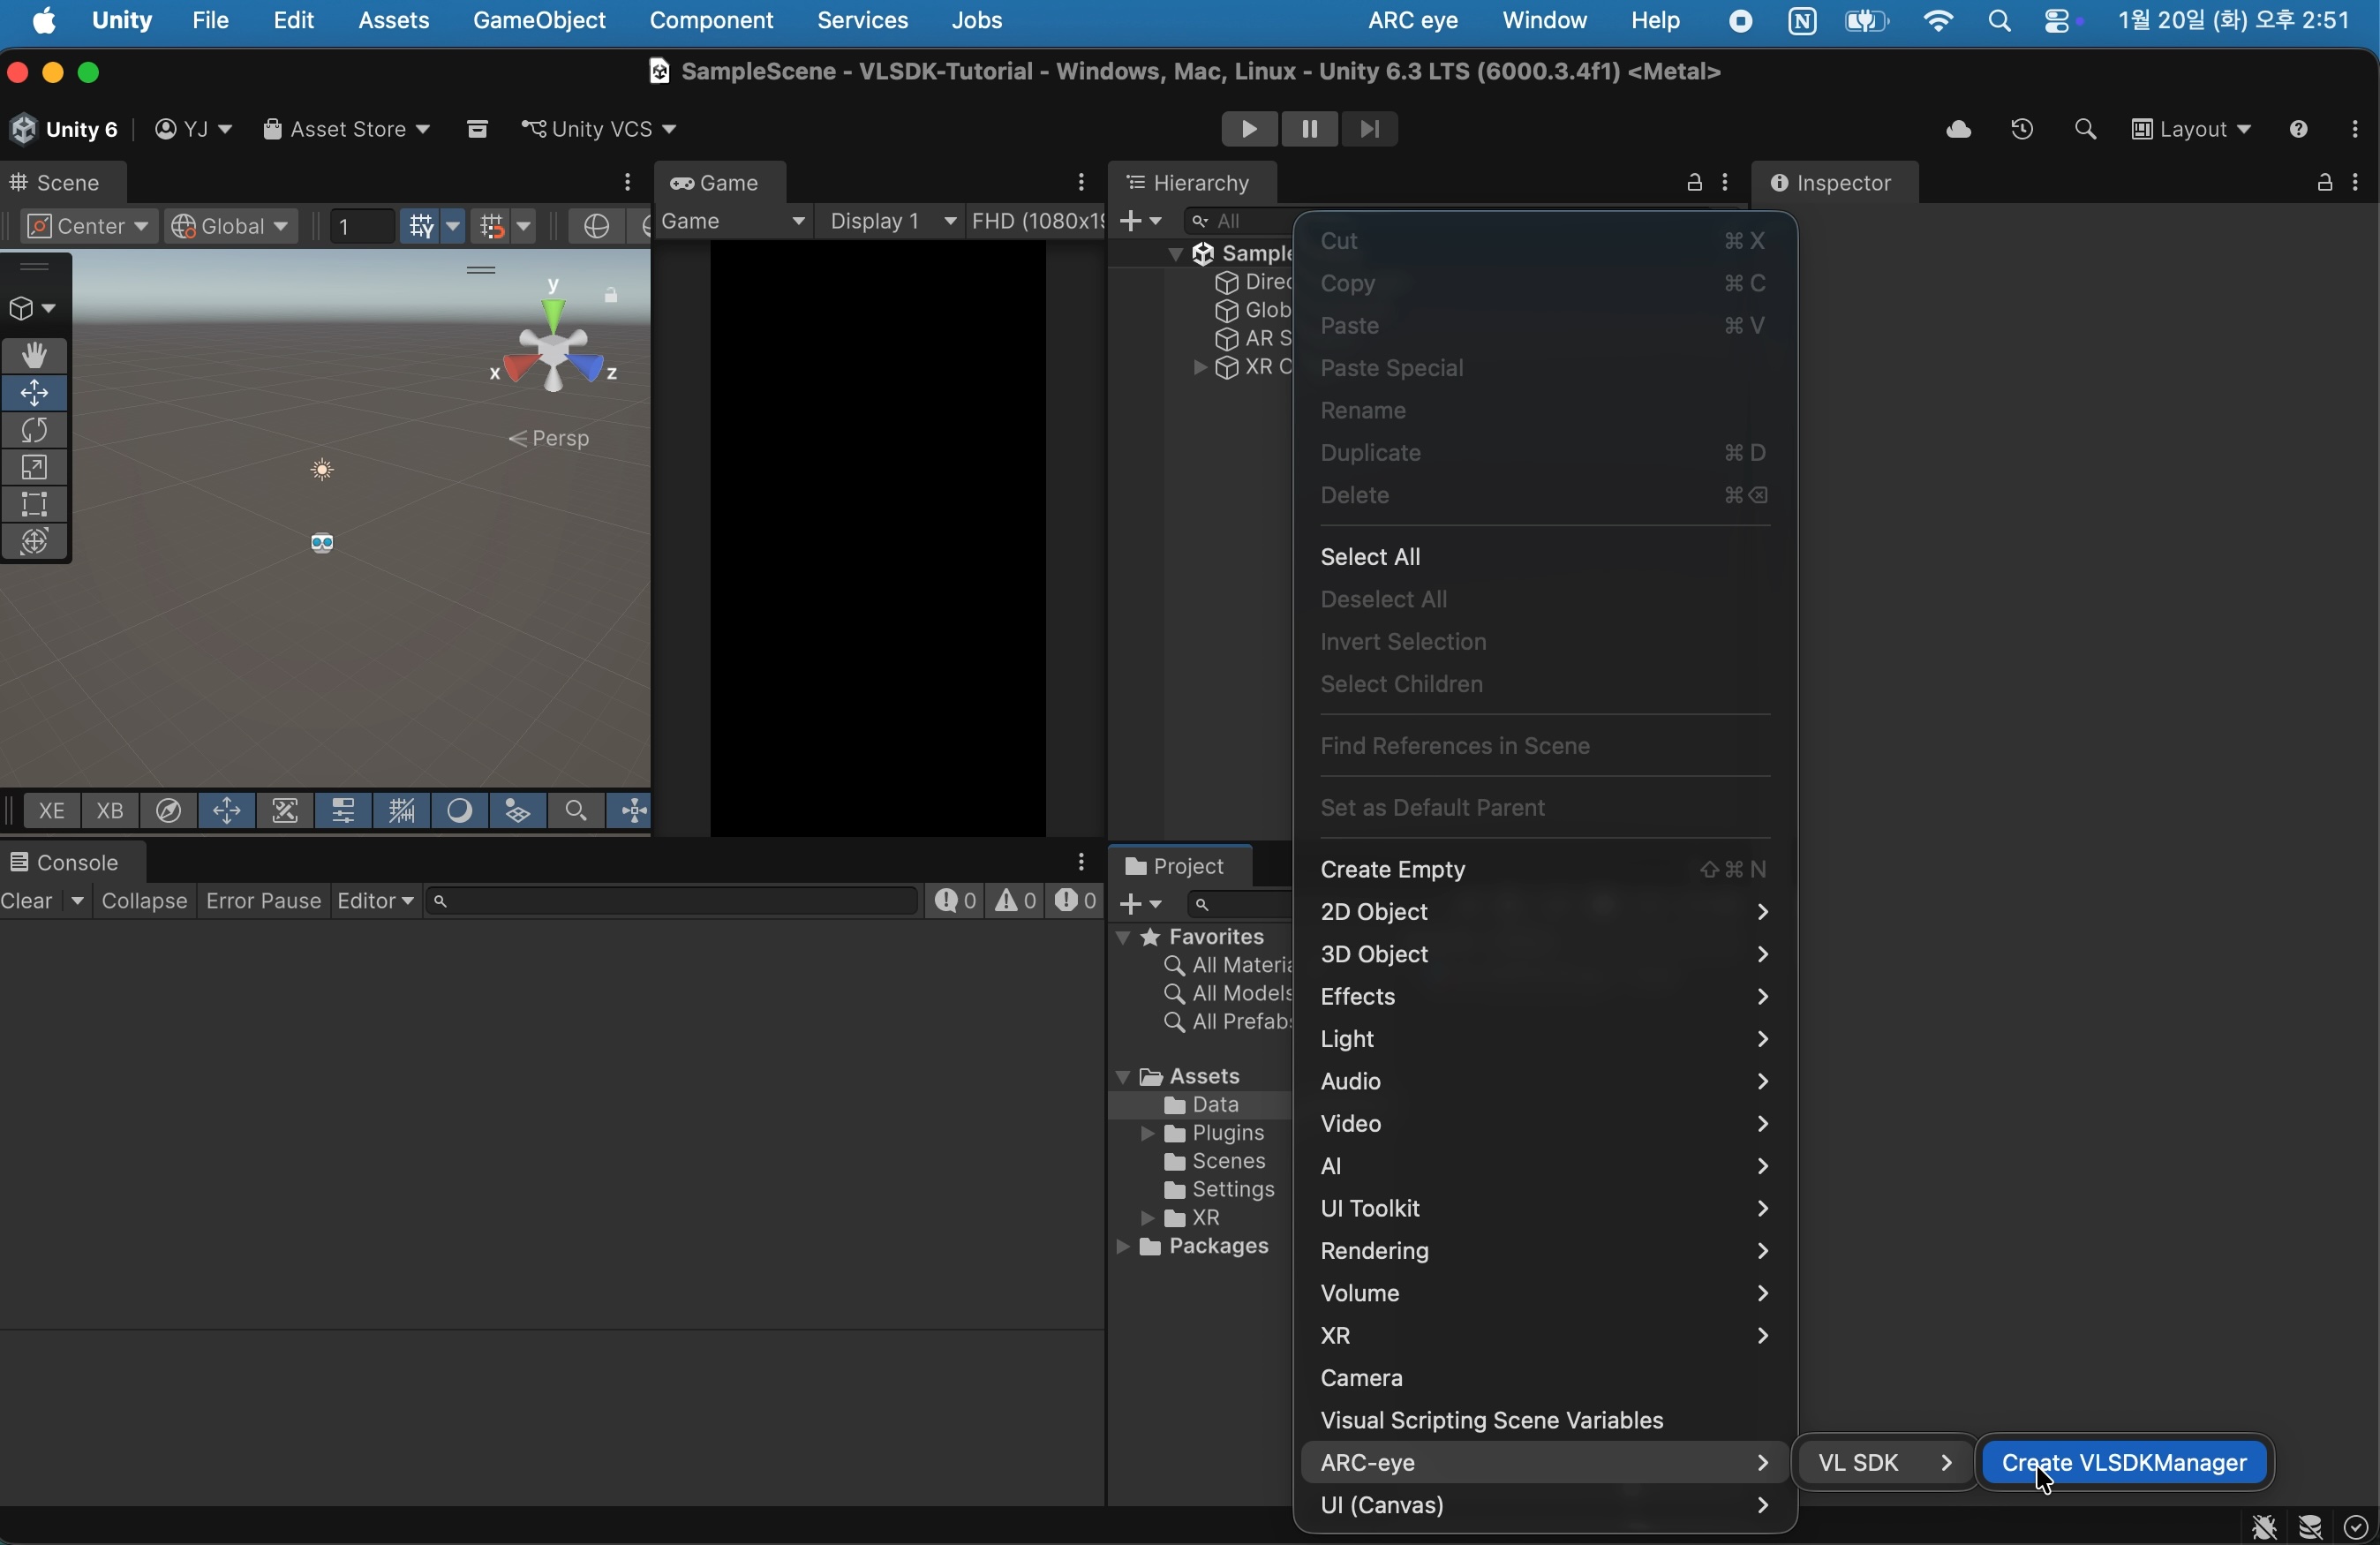
2.3 Add VLSDKManager
Select GameObject > ARC-eye > VLSDK > Create VLSDKManager.
Click on the created VLSDKManager to verify that the TextureProvider component has been added. Assign the image to be used when sending requests to the Texture To Send field of the TextureProvider component.
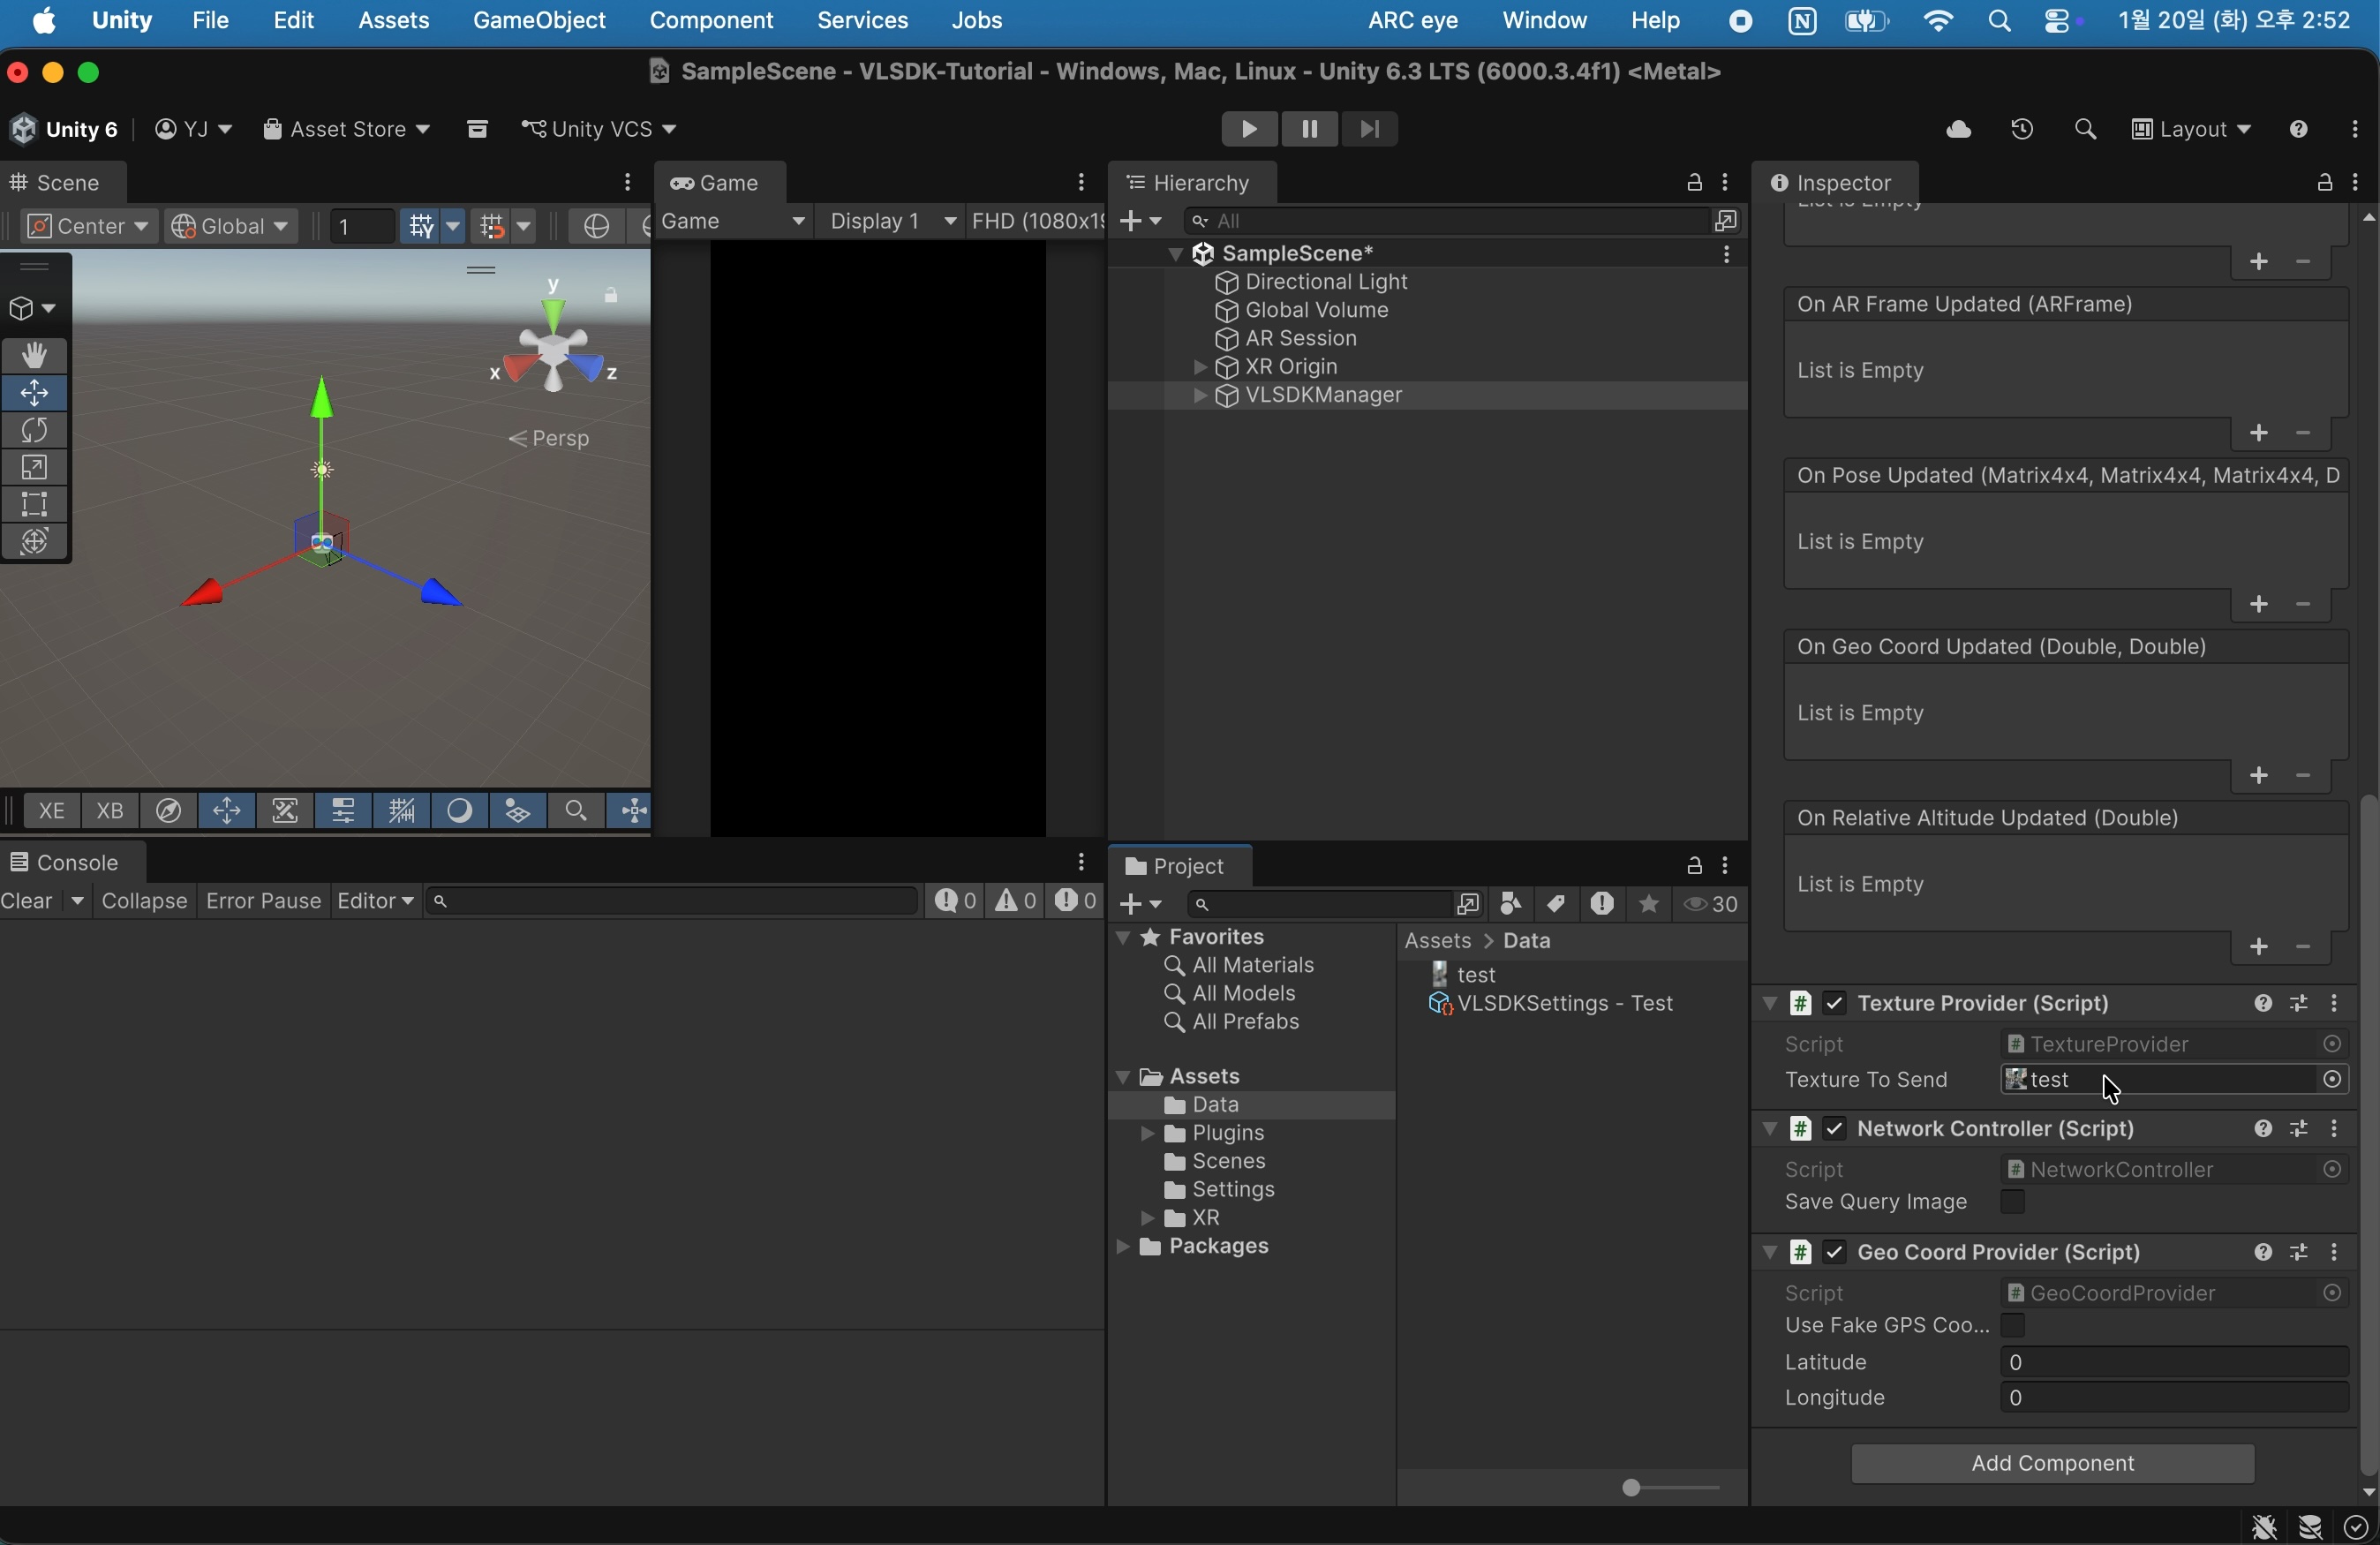
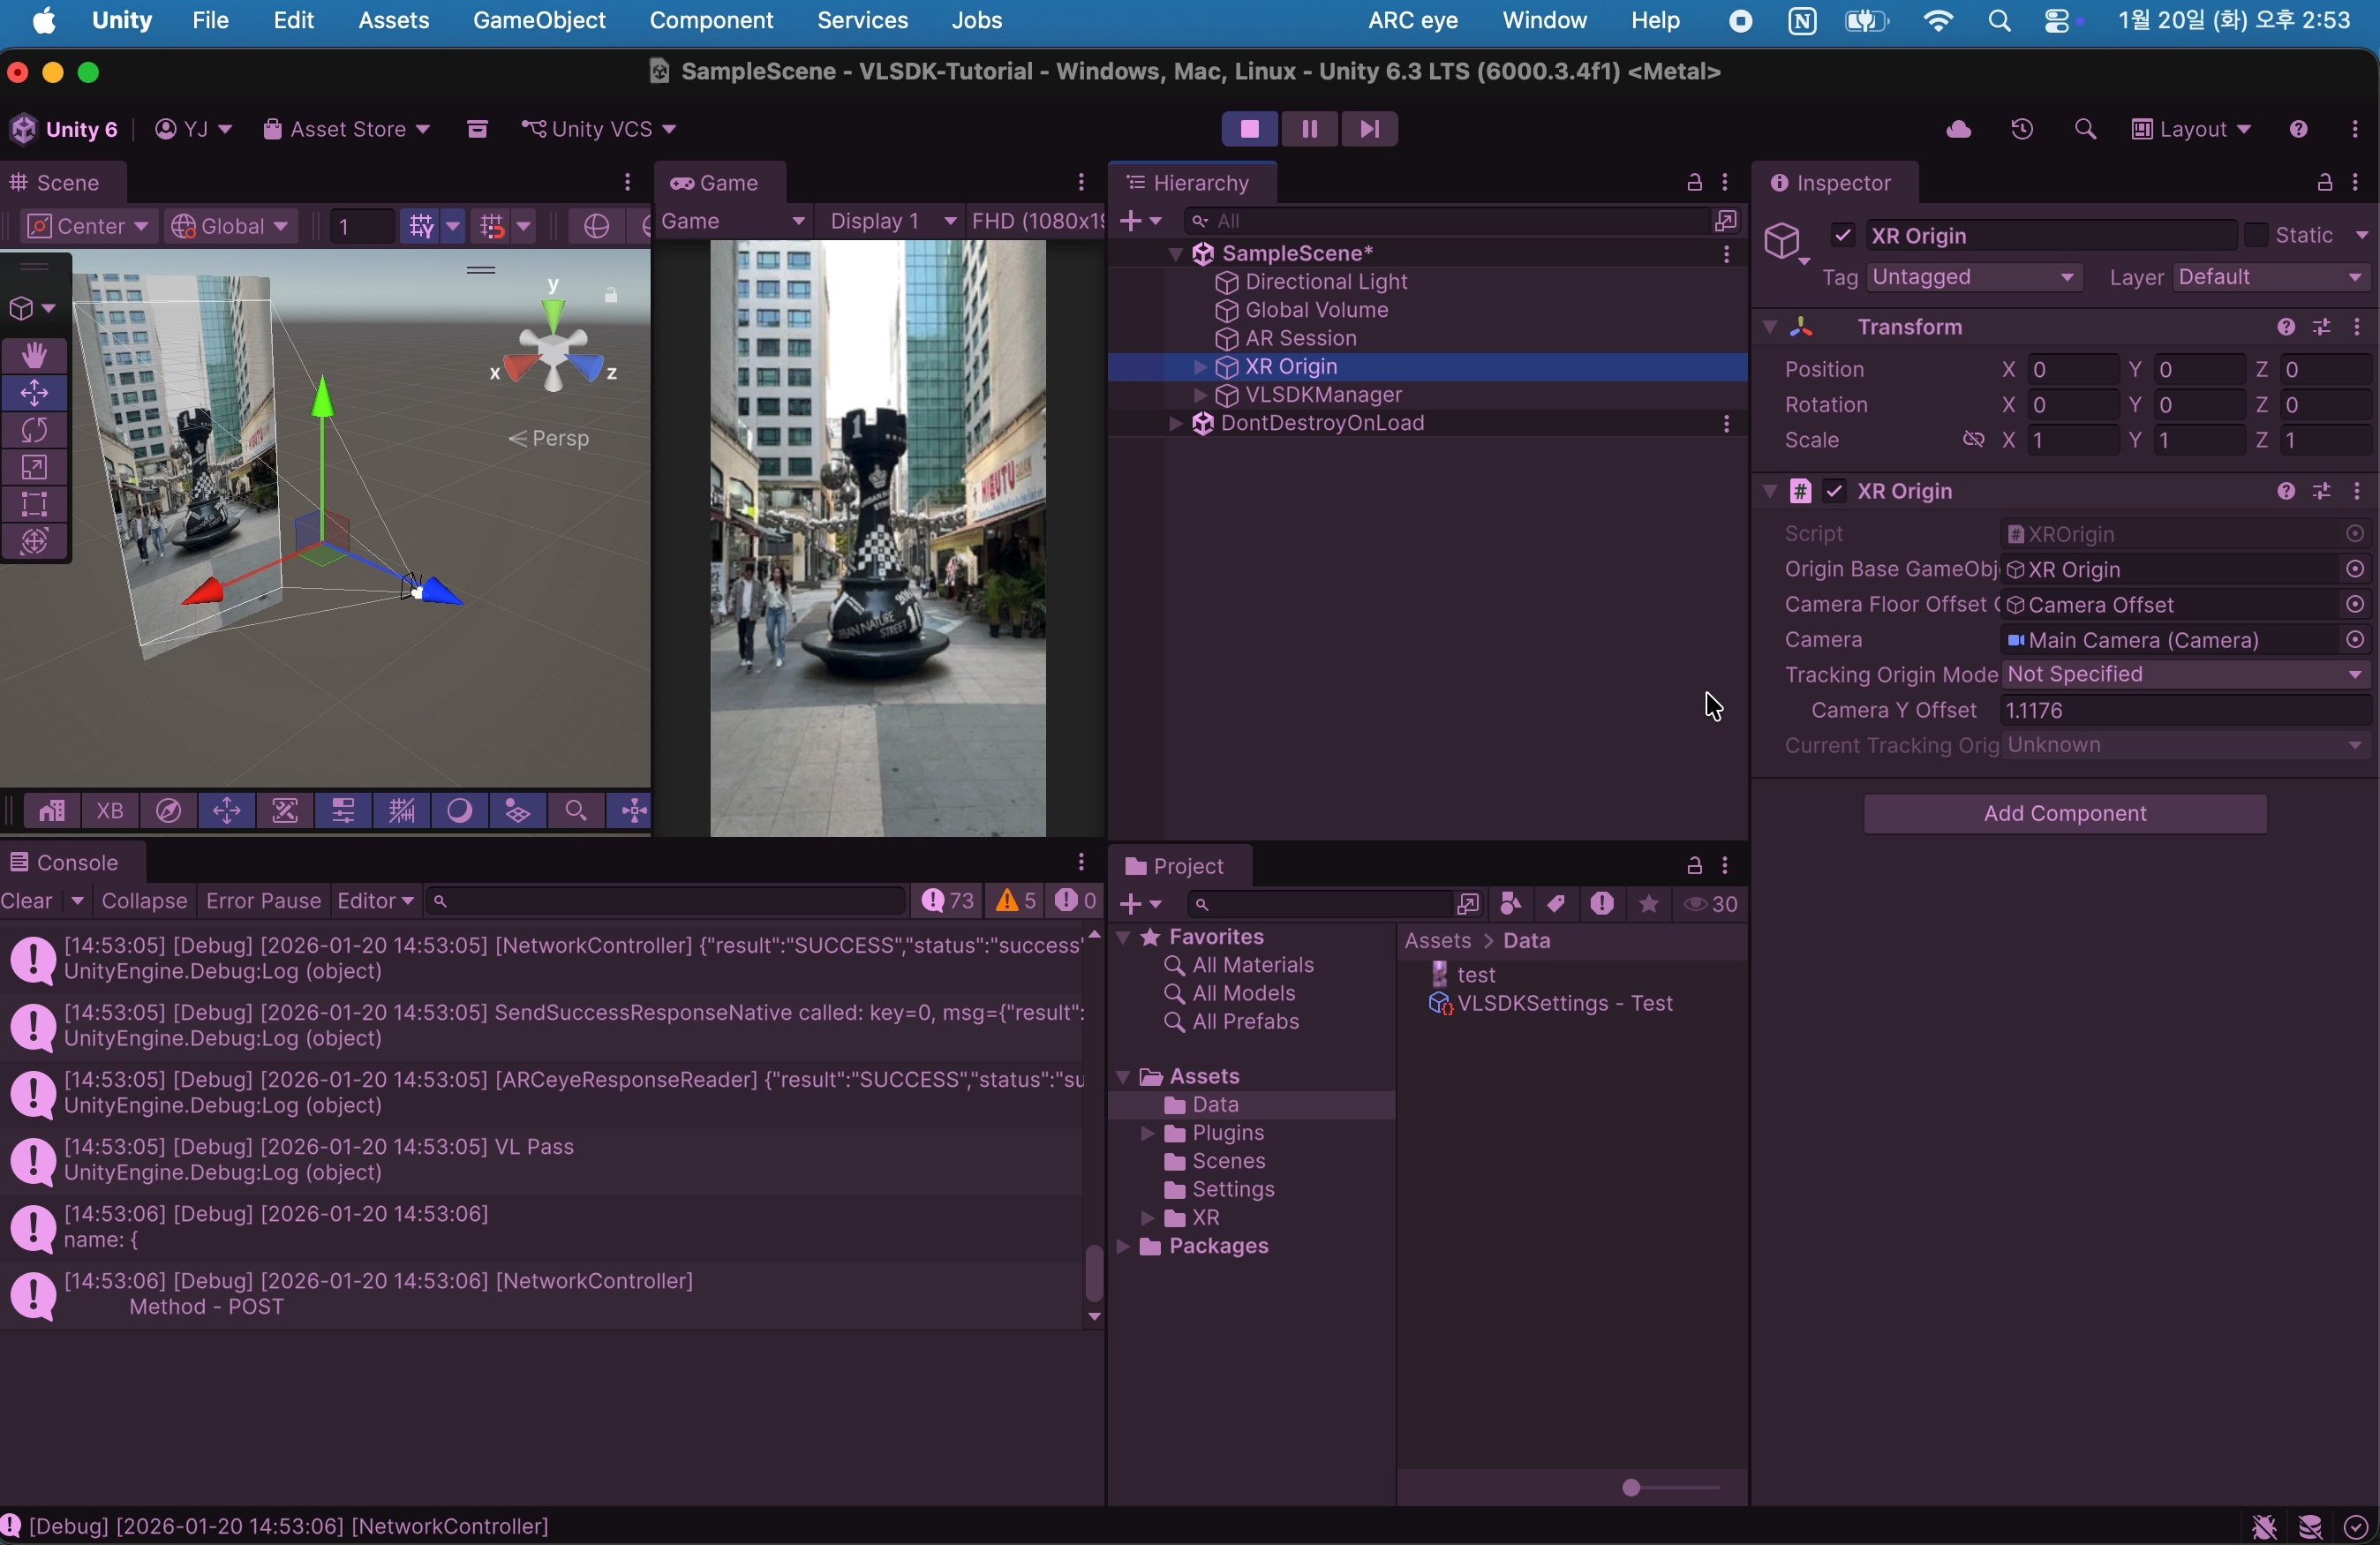
When you enter Play Mode, you can verify that the VLSDK is working.
3. Project Validation
To run on iOS and Android devices, some additional project settings are required. We provide a Project Validation feature that allows you to check whether these values are properly configured.
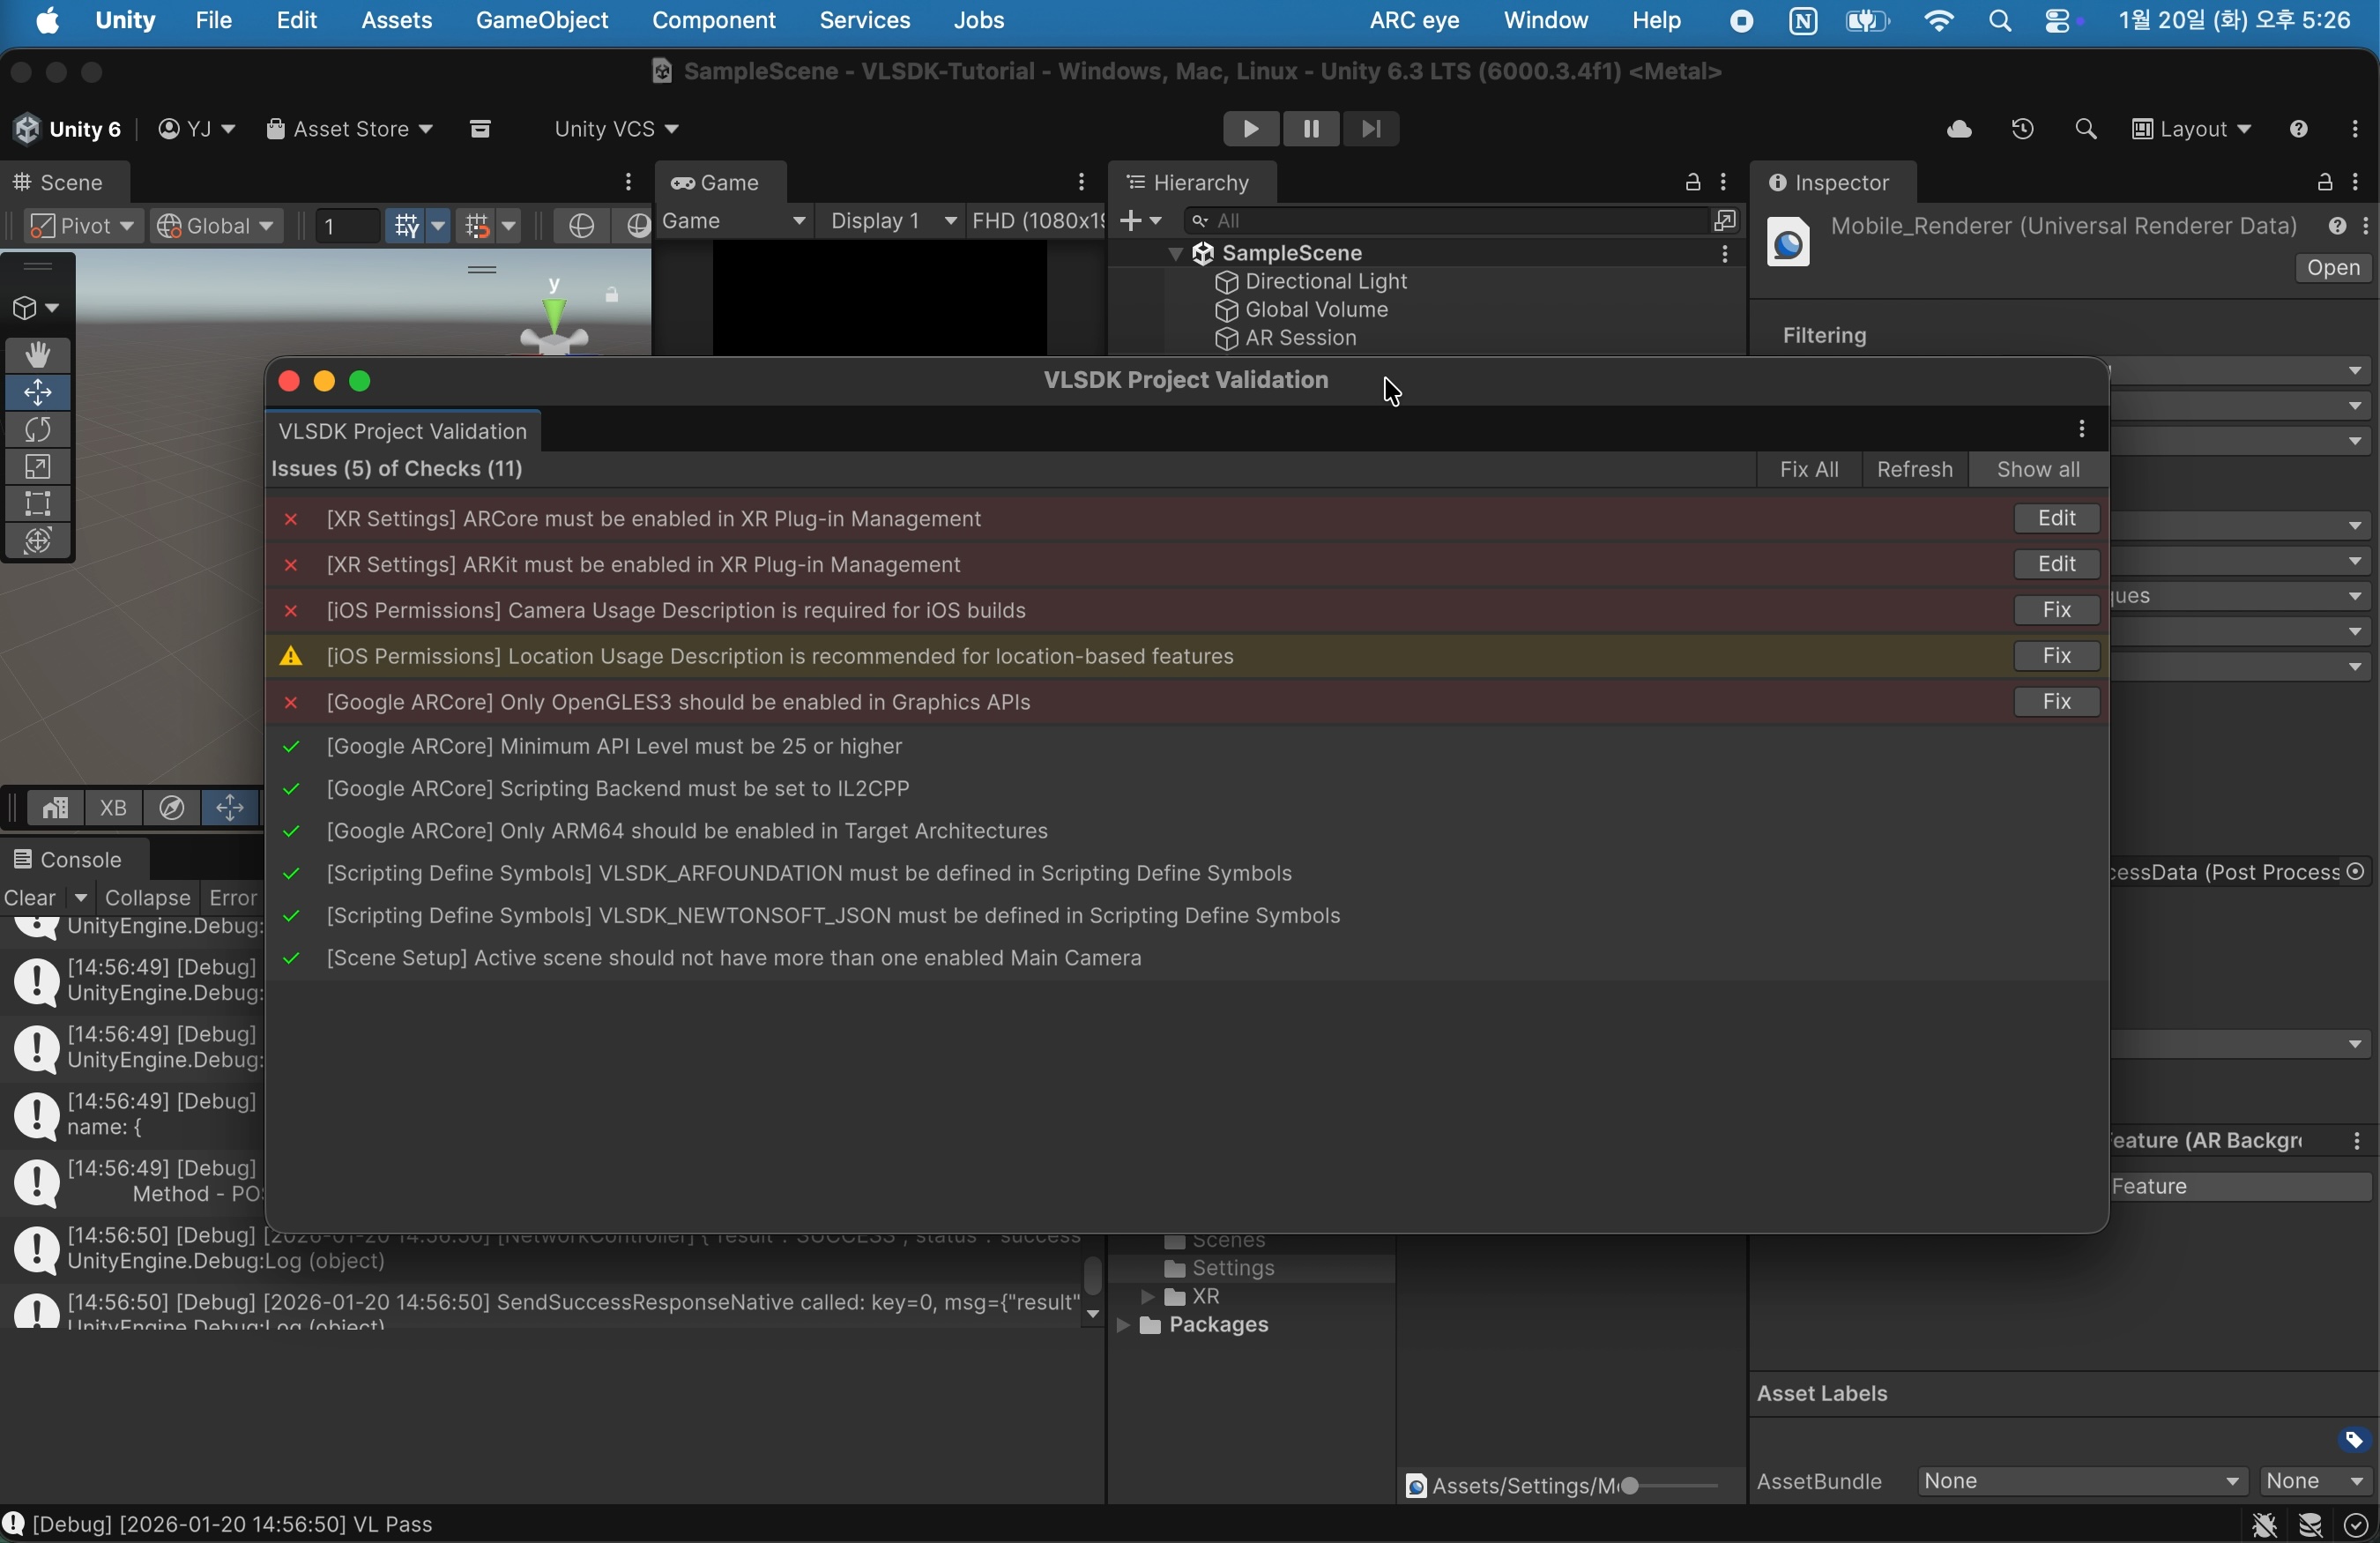
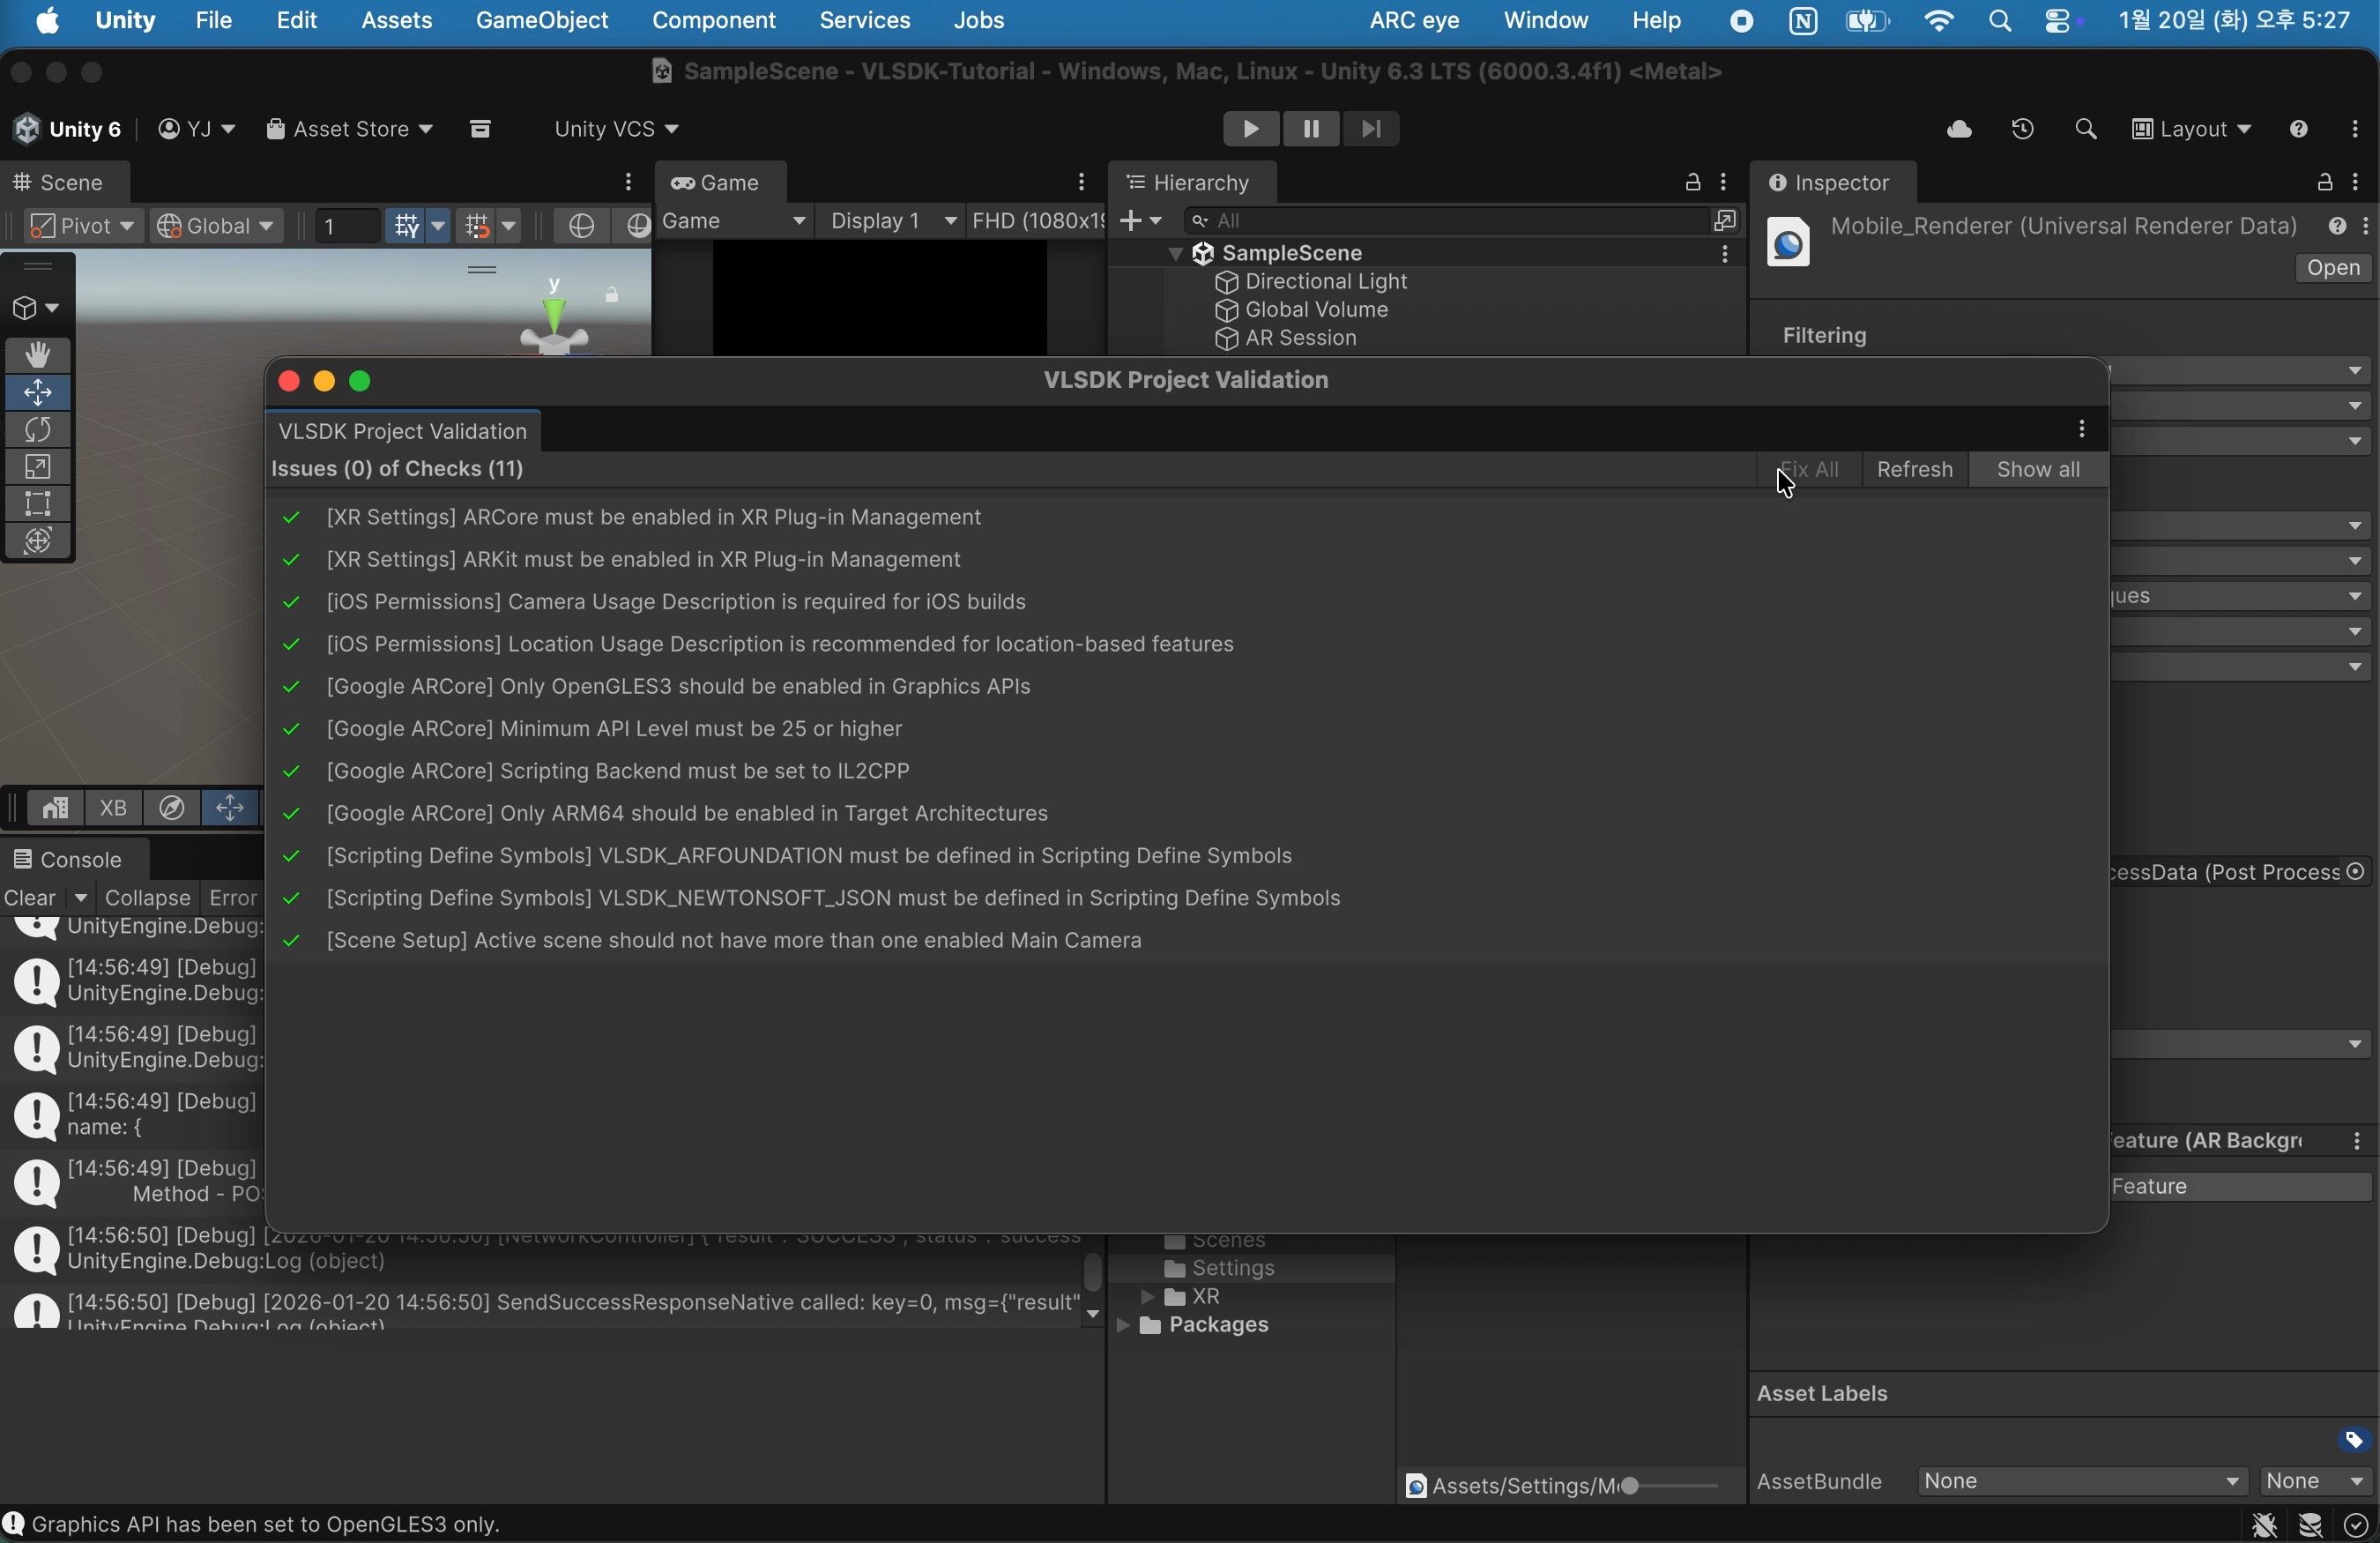
Select ARC eye > VLSDK > Project Validation.
A window will appear that checks whether the settings are valid. Review the warning messages and press the 'Edit' or 'Fix' button to resolve issues.
4. (URP) AR Background Setup
If your project uses the Universal Render Pipeline, you need to use the AR Background Renderer Feature to render the AR environment camera preview.
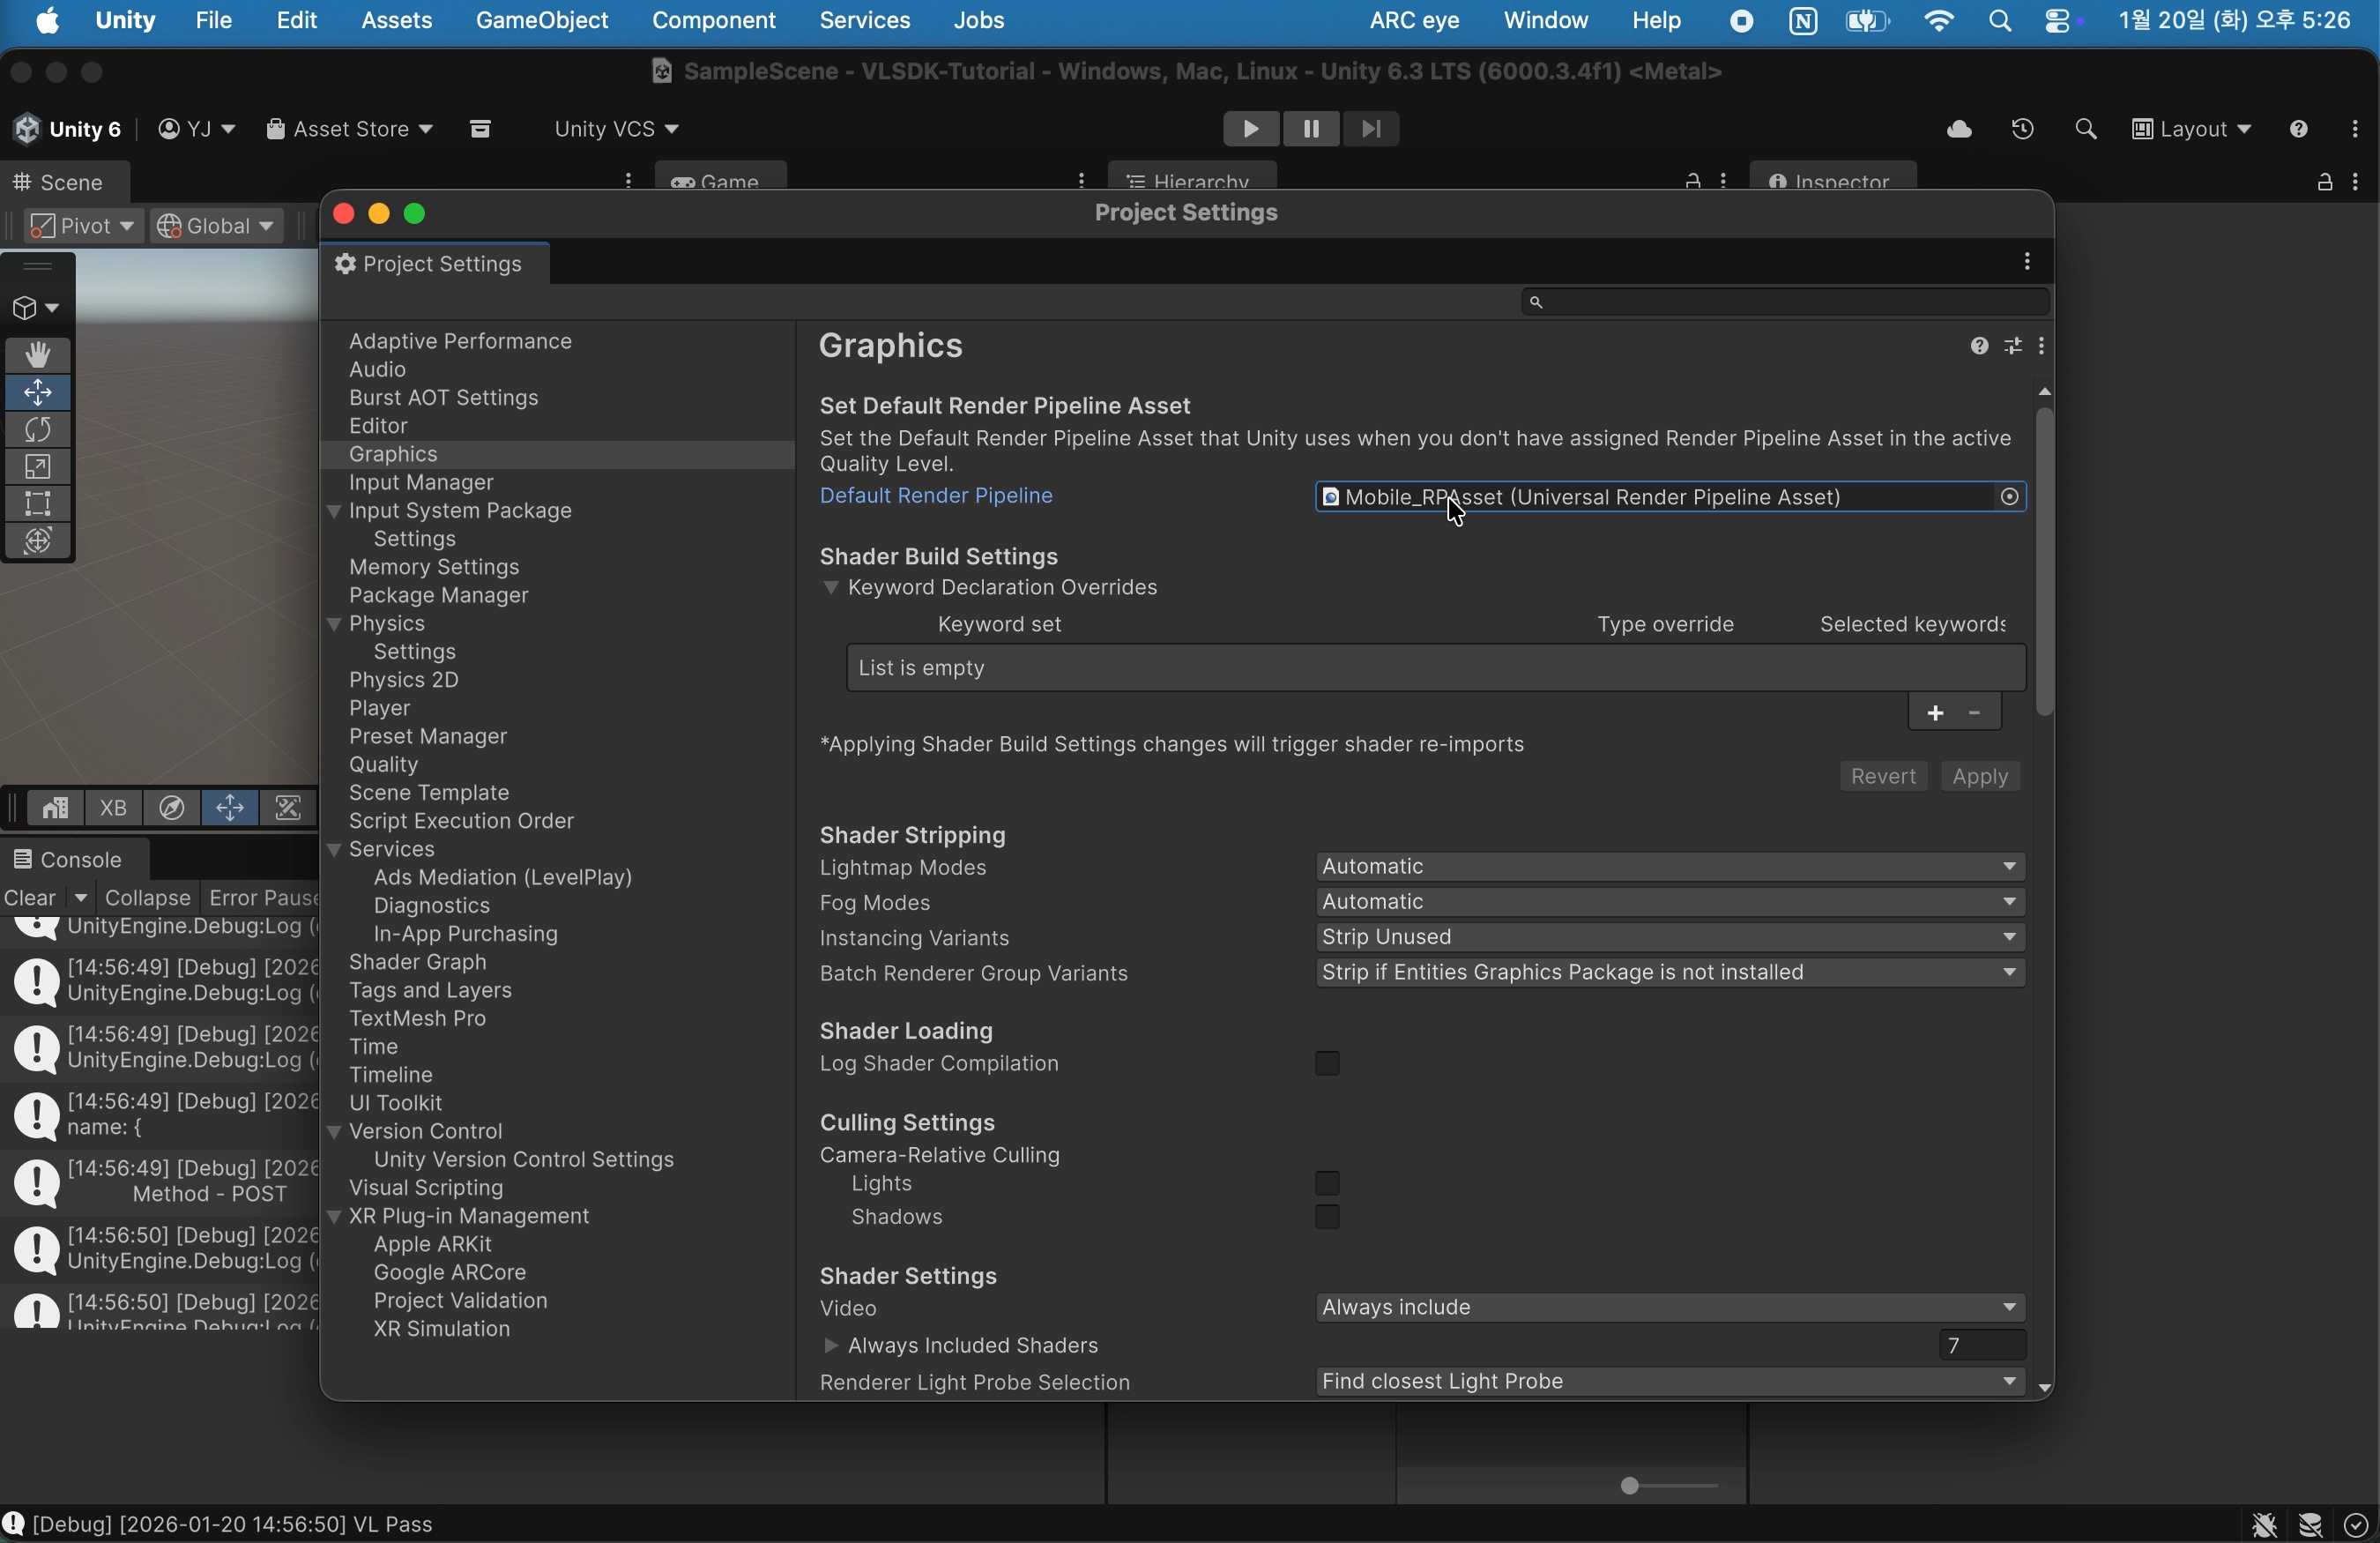
Select Edit > Project Settings and then select the Graphics tab.

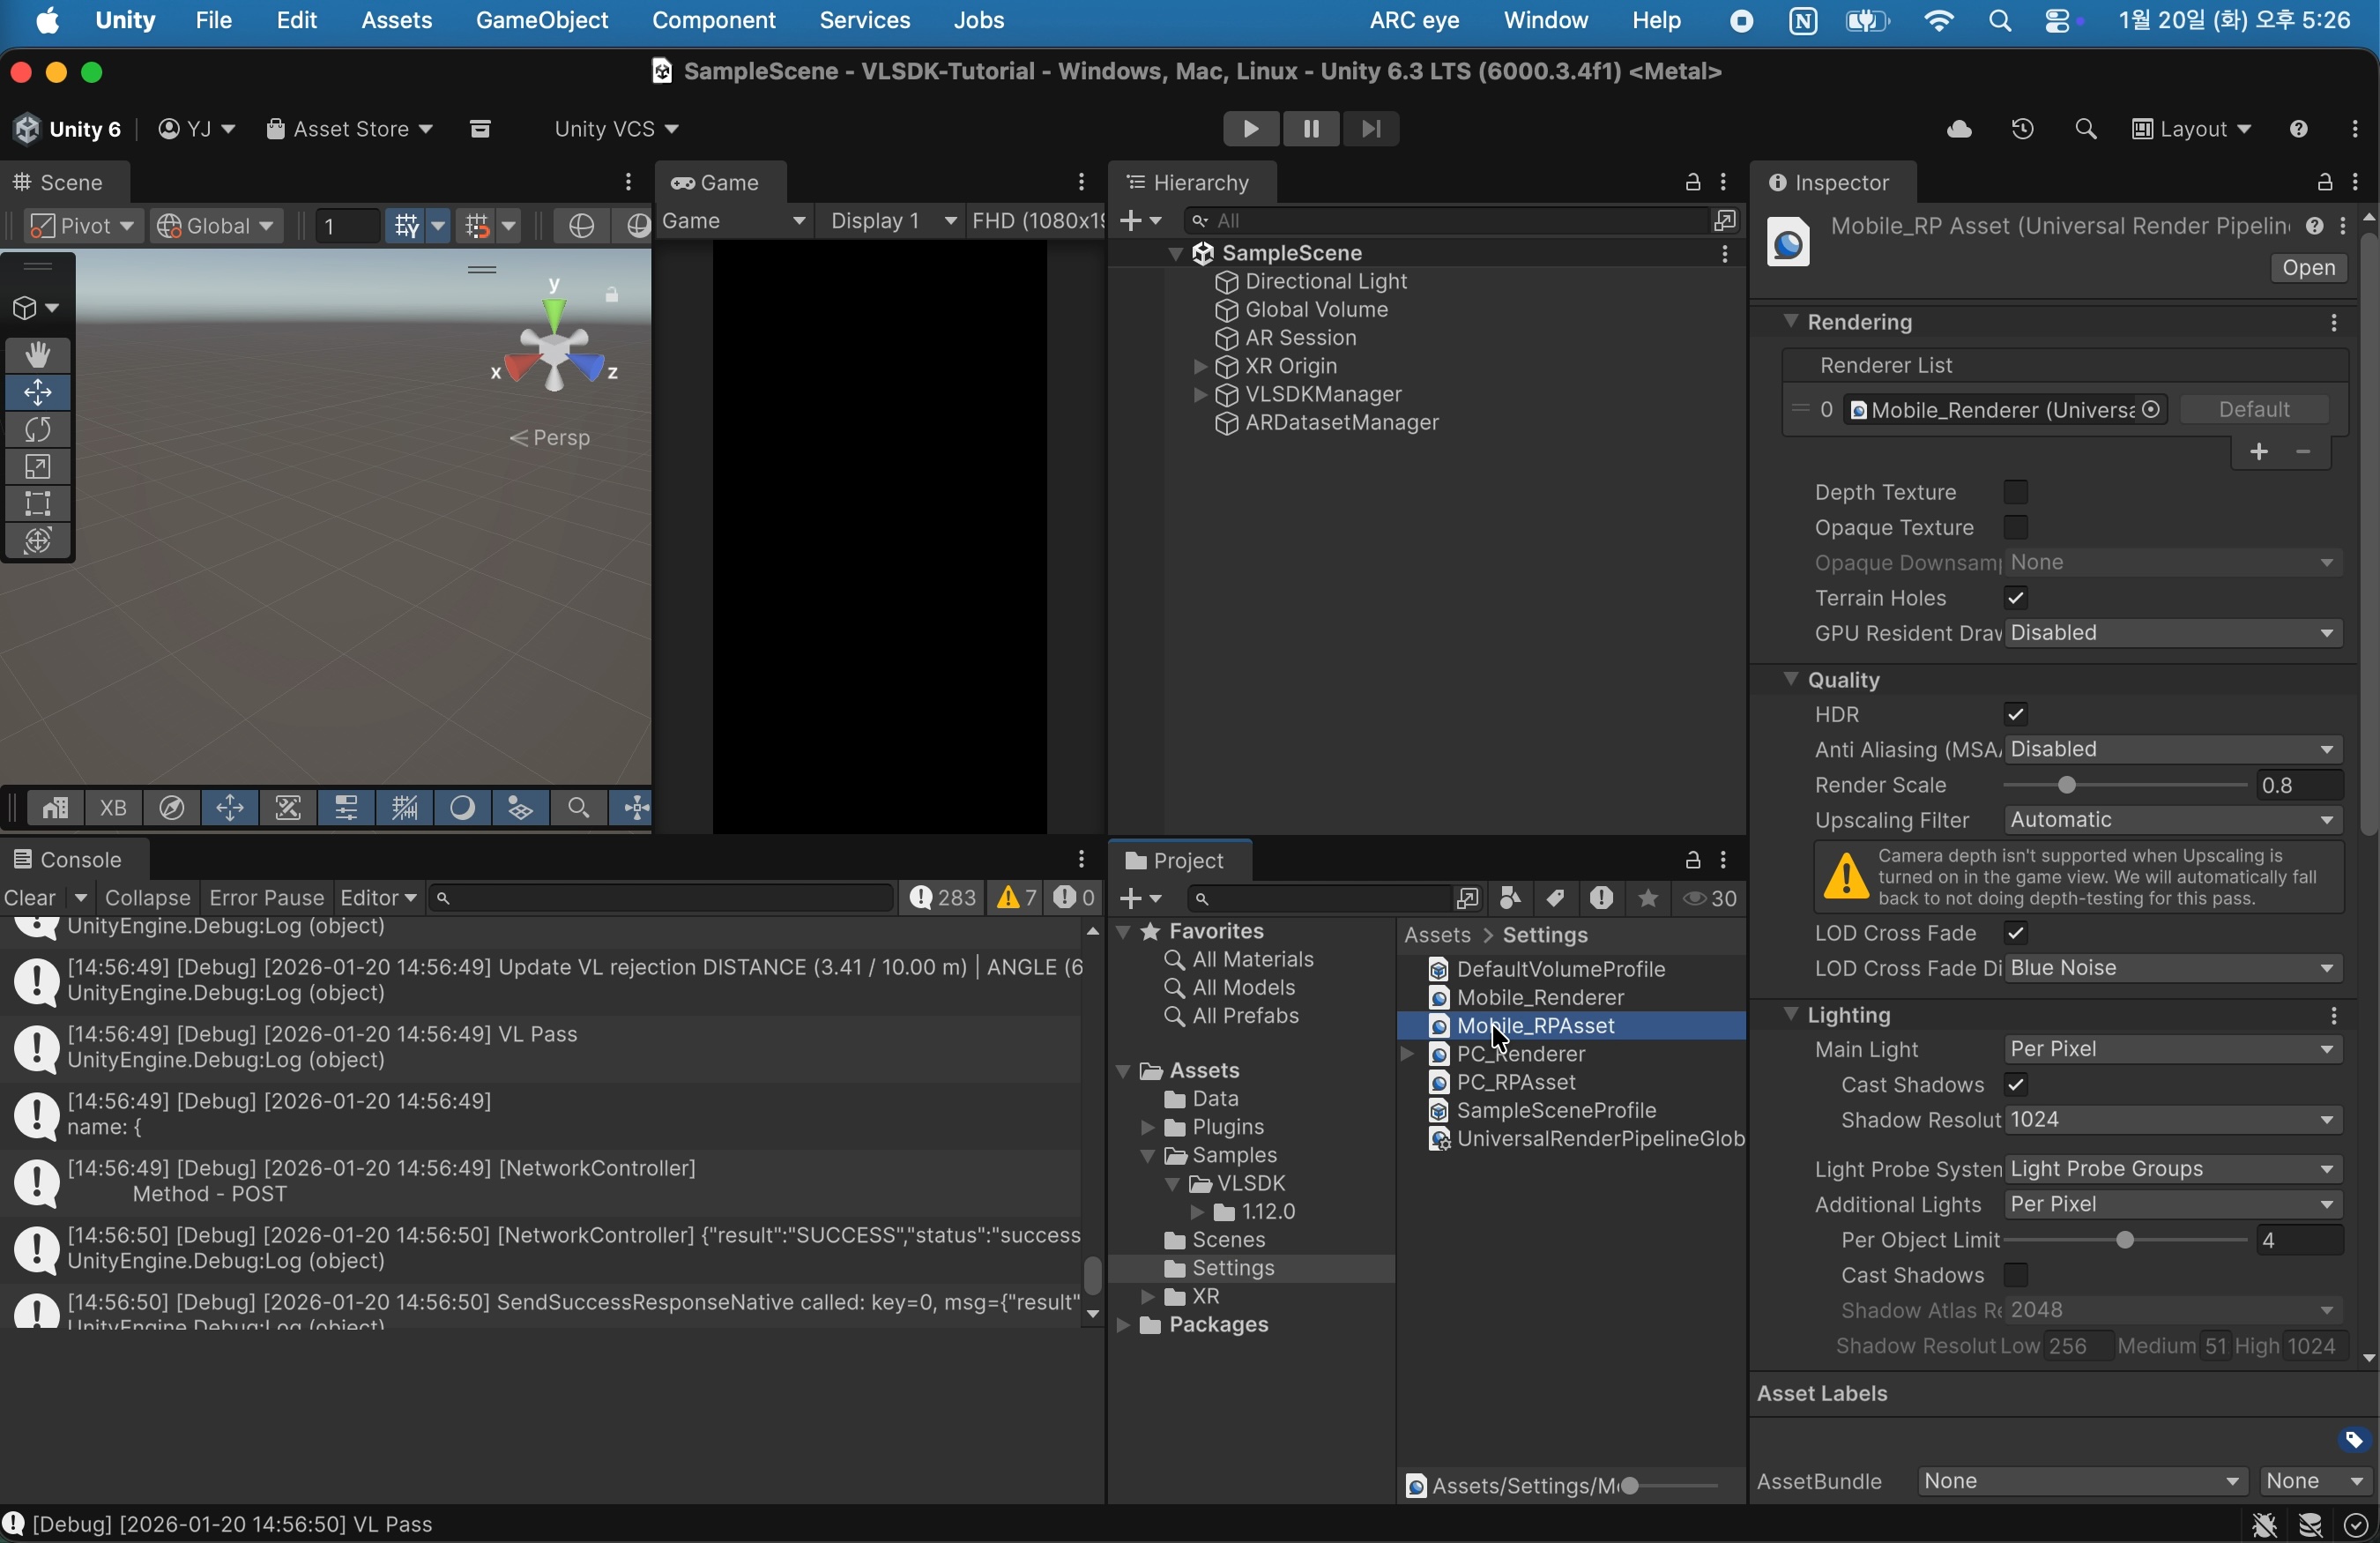
Set the Default Render Pipeline to Mobile_RPAsset. If you have a separate Render Pipeline Asset you're using, you can use that asset instead.
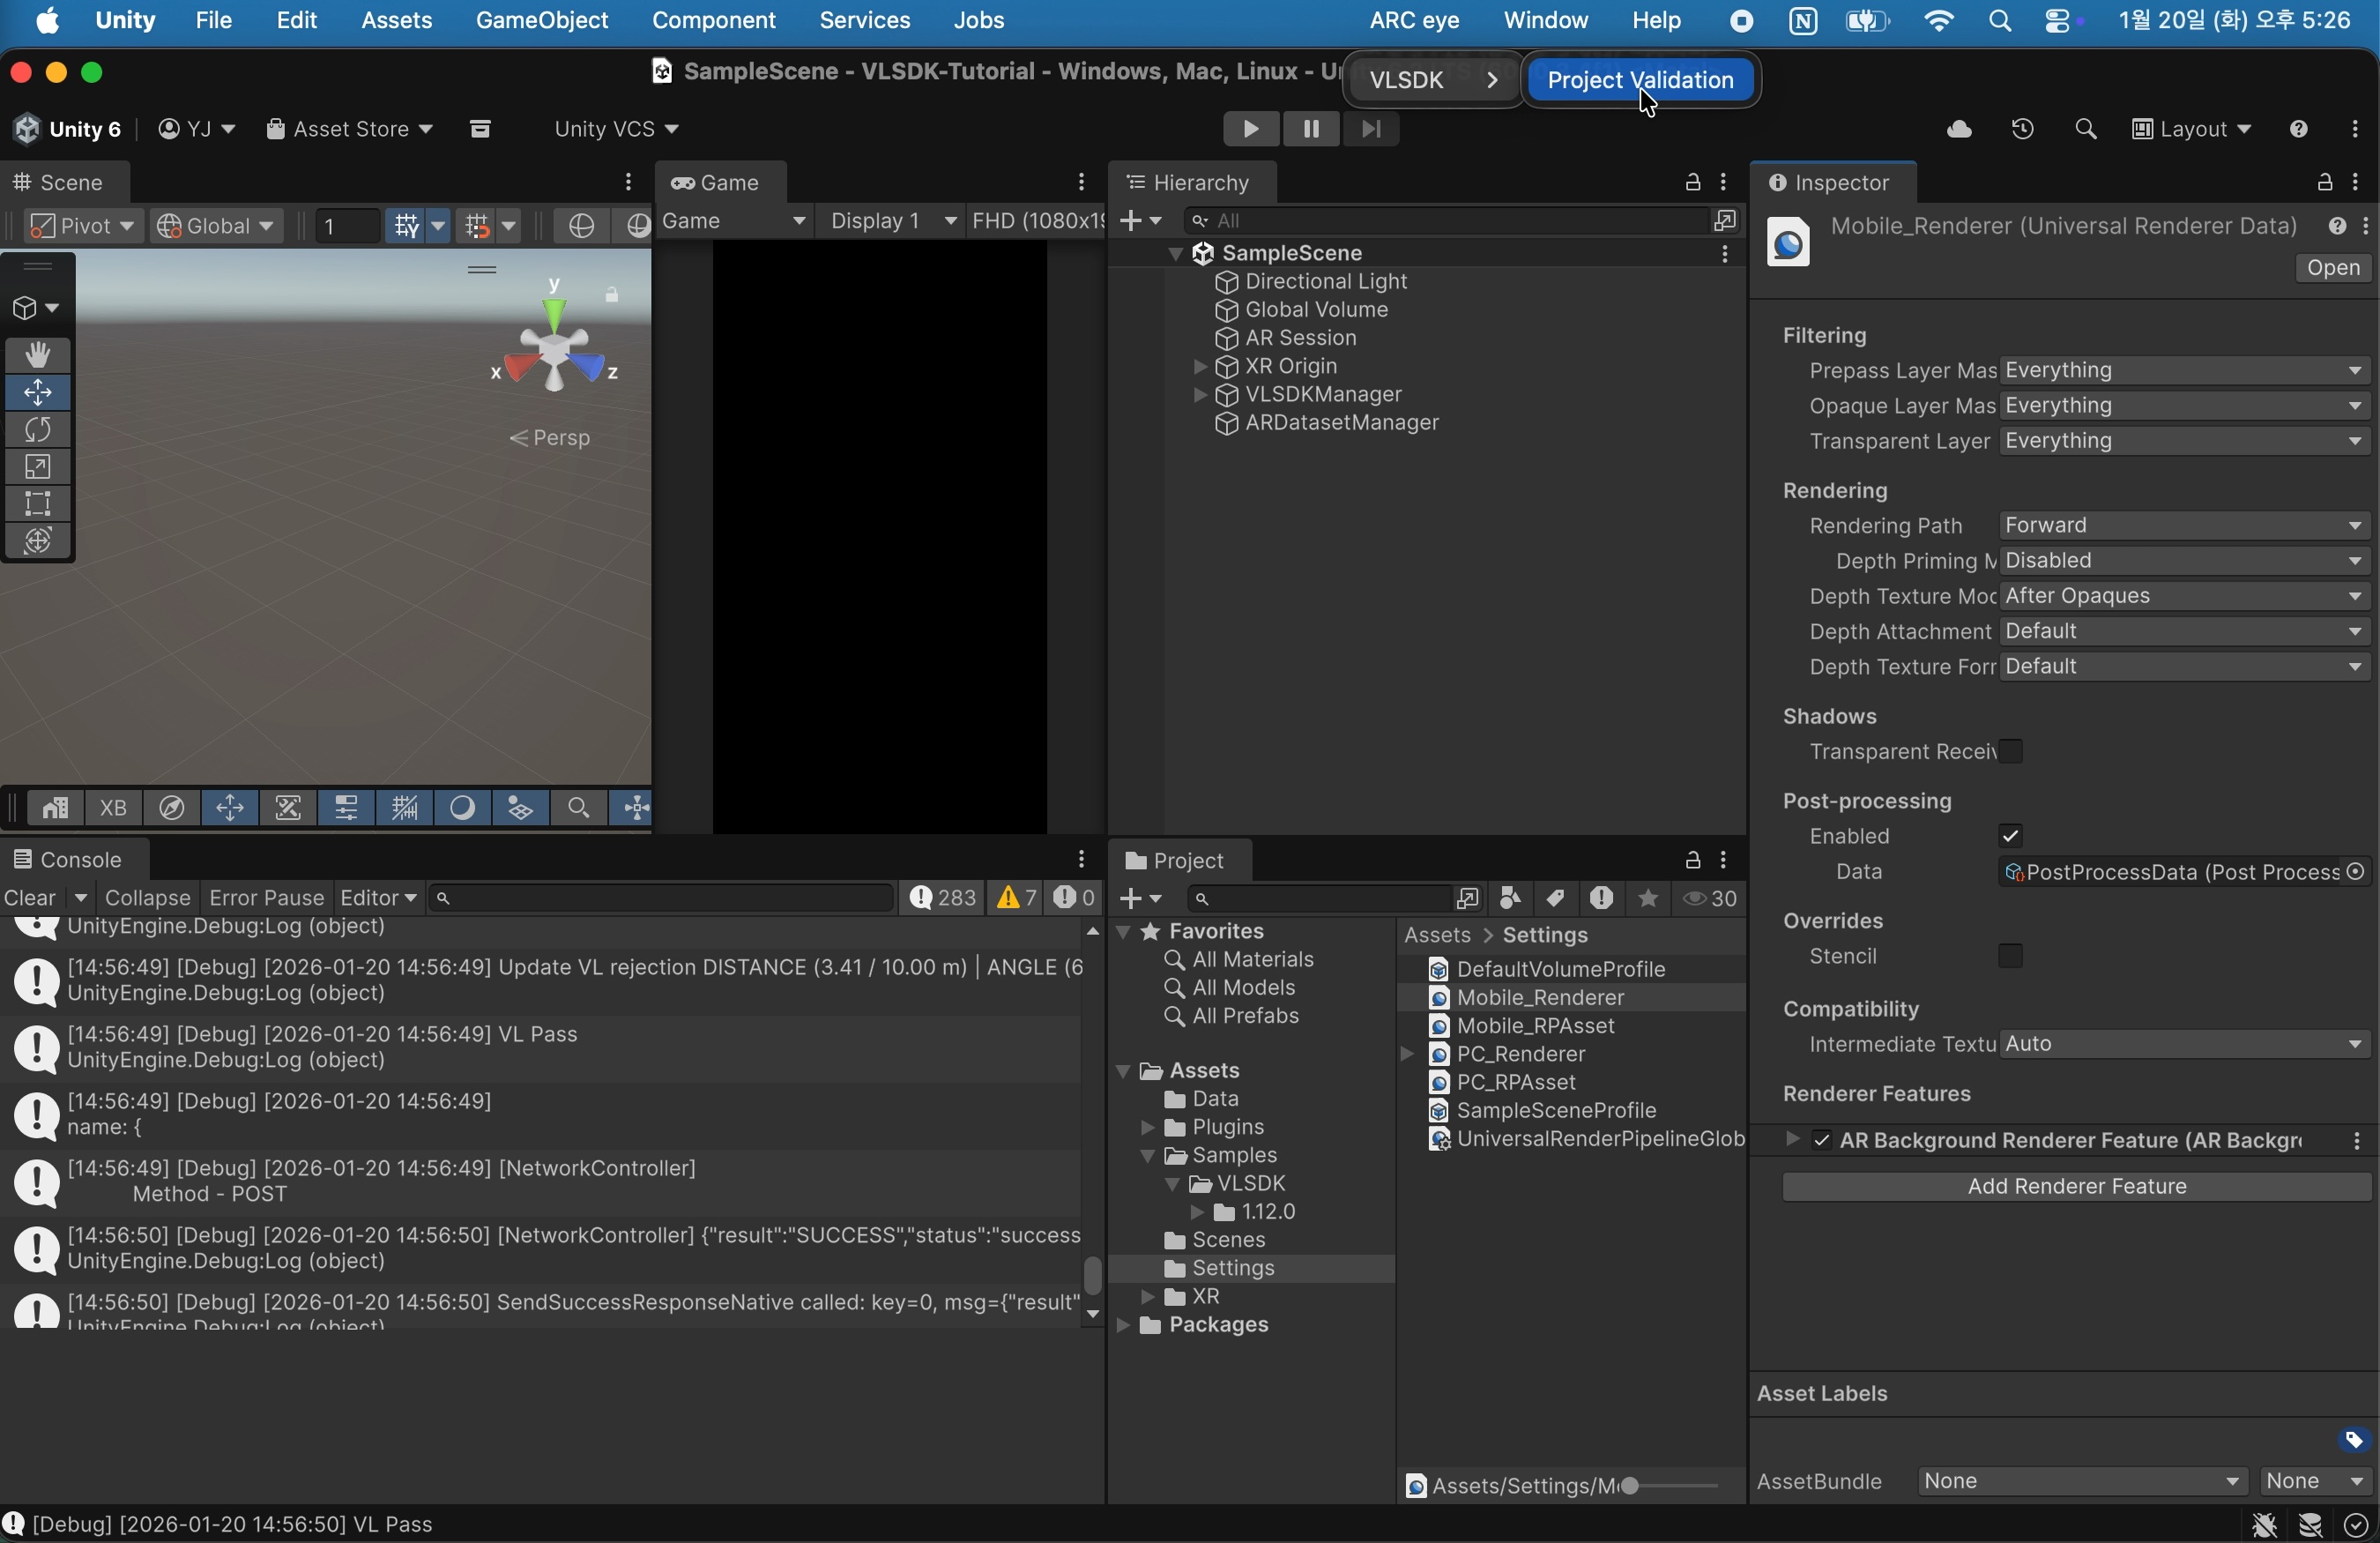
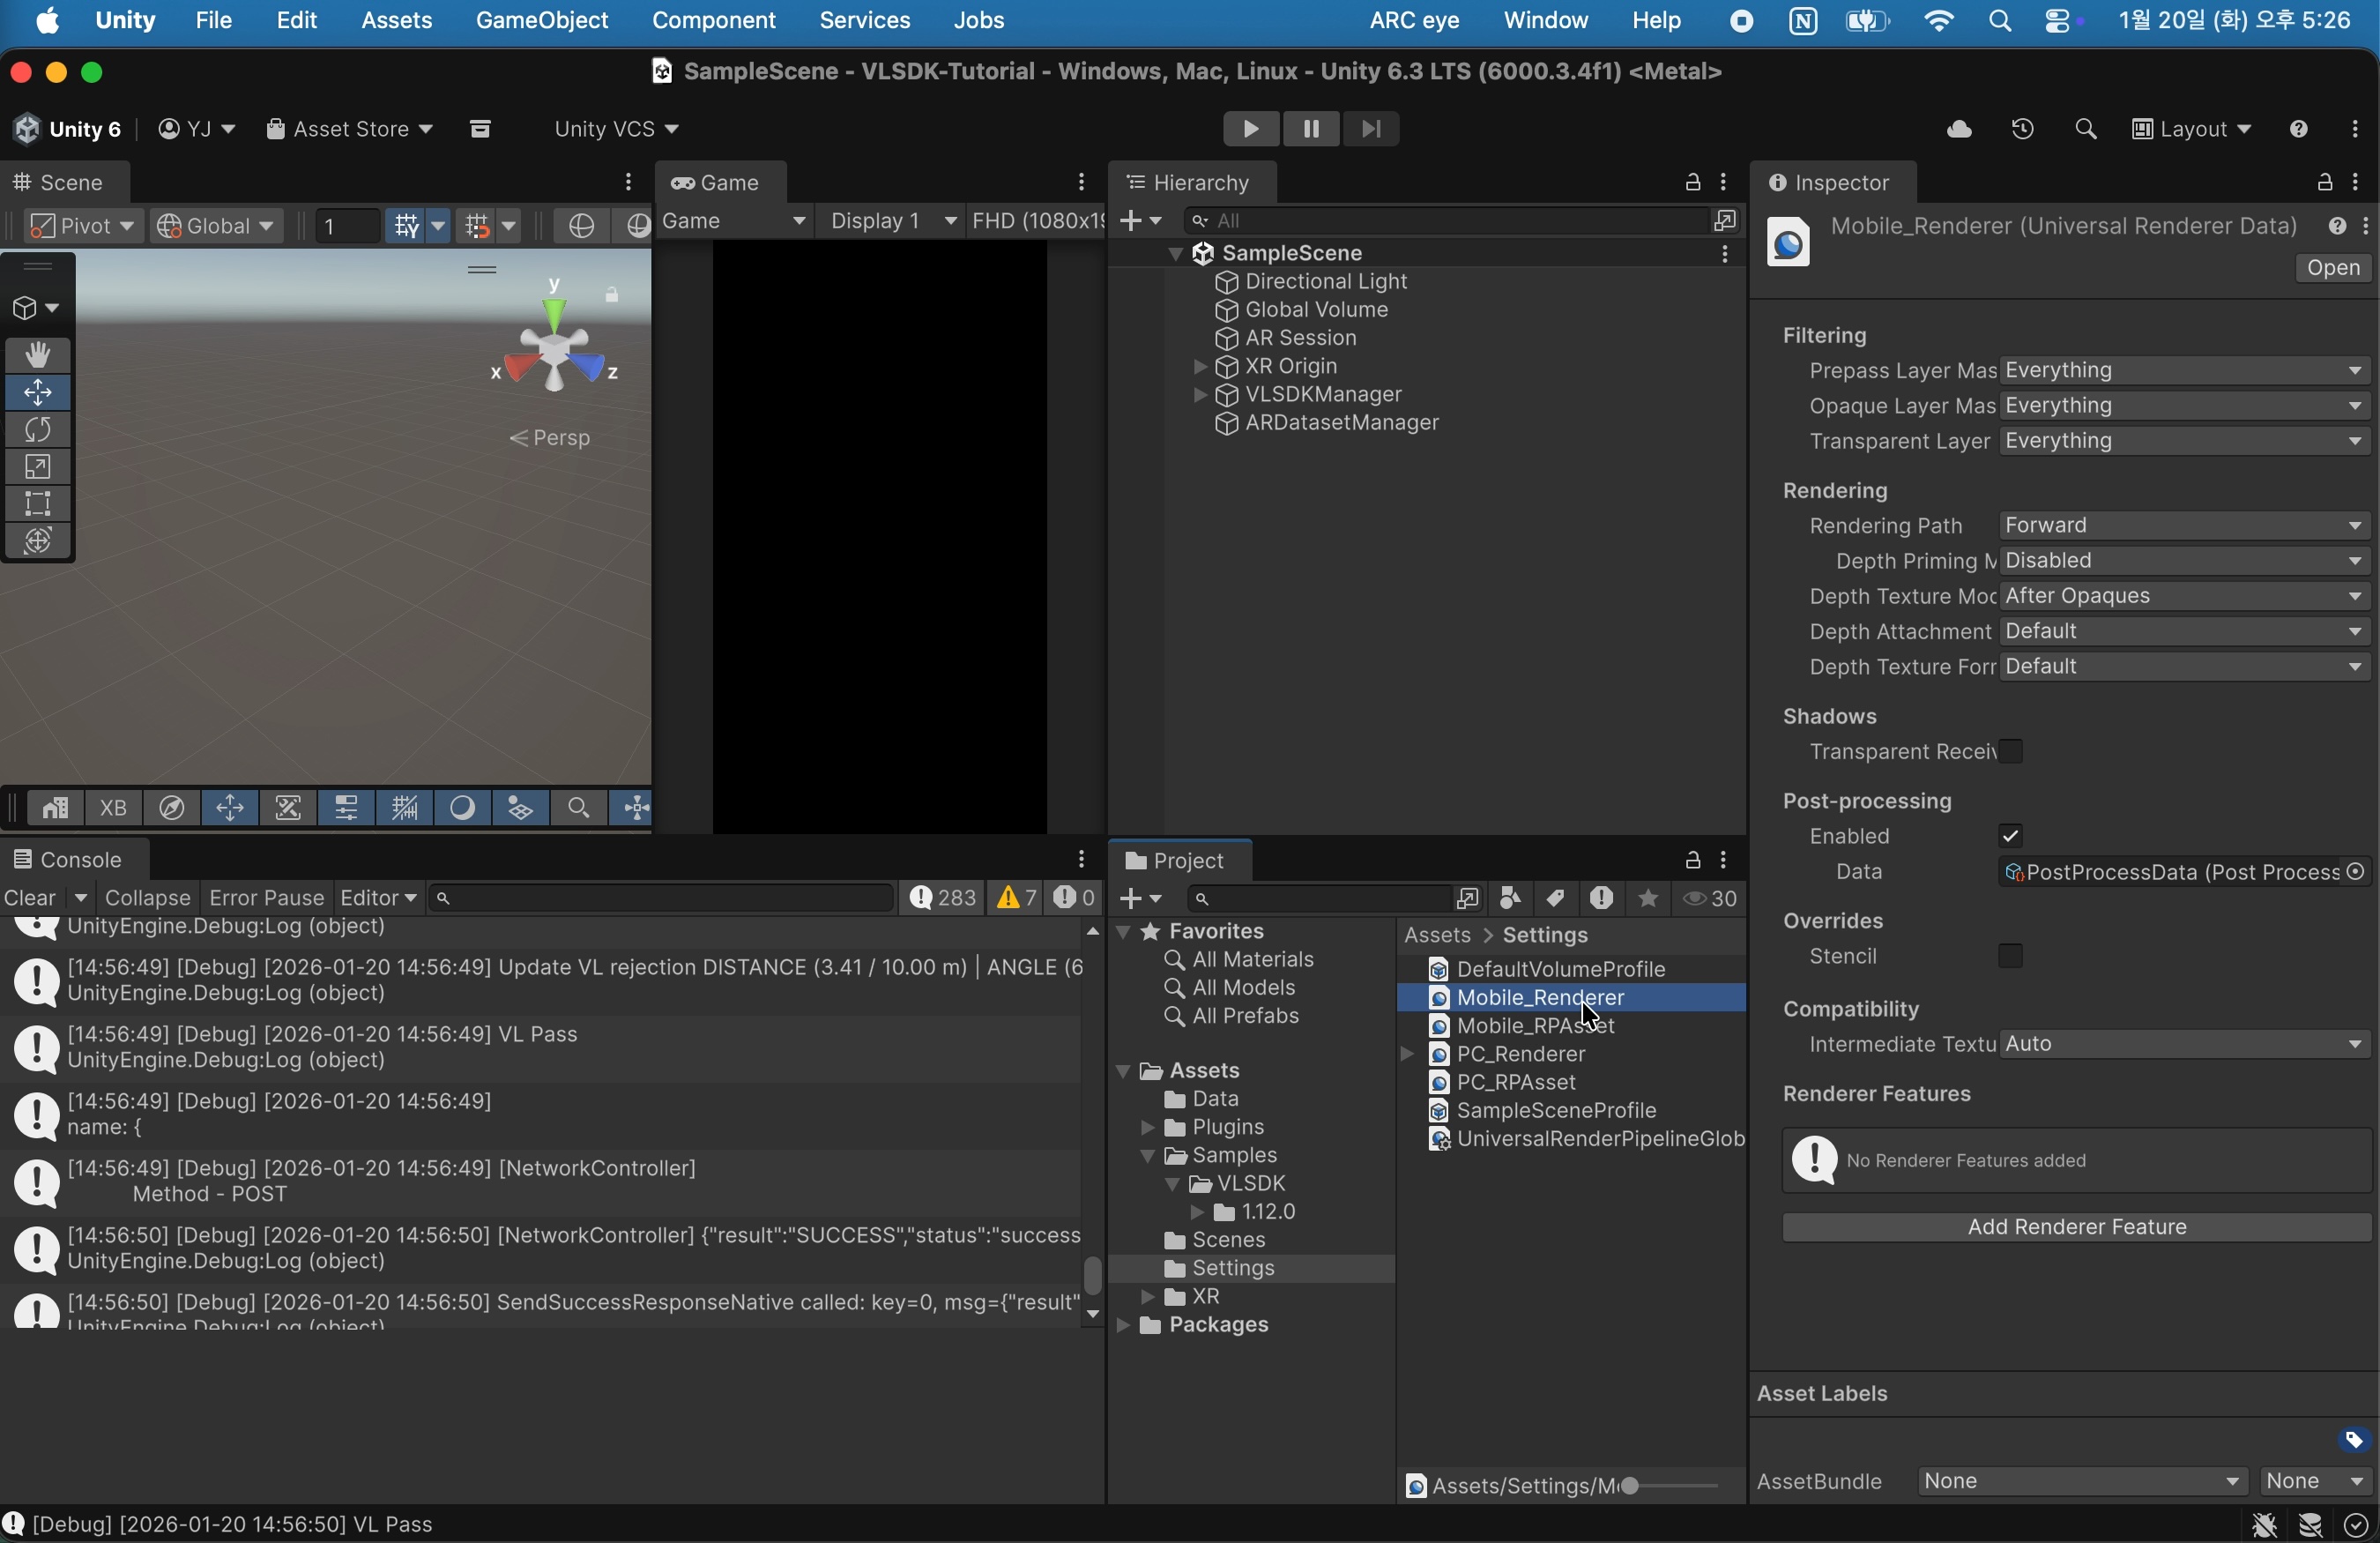
When you select Mobile_RPAsset, you can verify that Mobile_Renderer is set in the Renderer List. Select Mobile_Renderer.
Click the 'Add Renderer Feature' button at the bottom of the Inspector screen and select AR Background Renderer Feature.
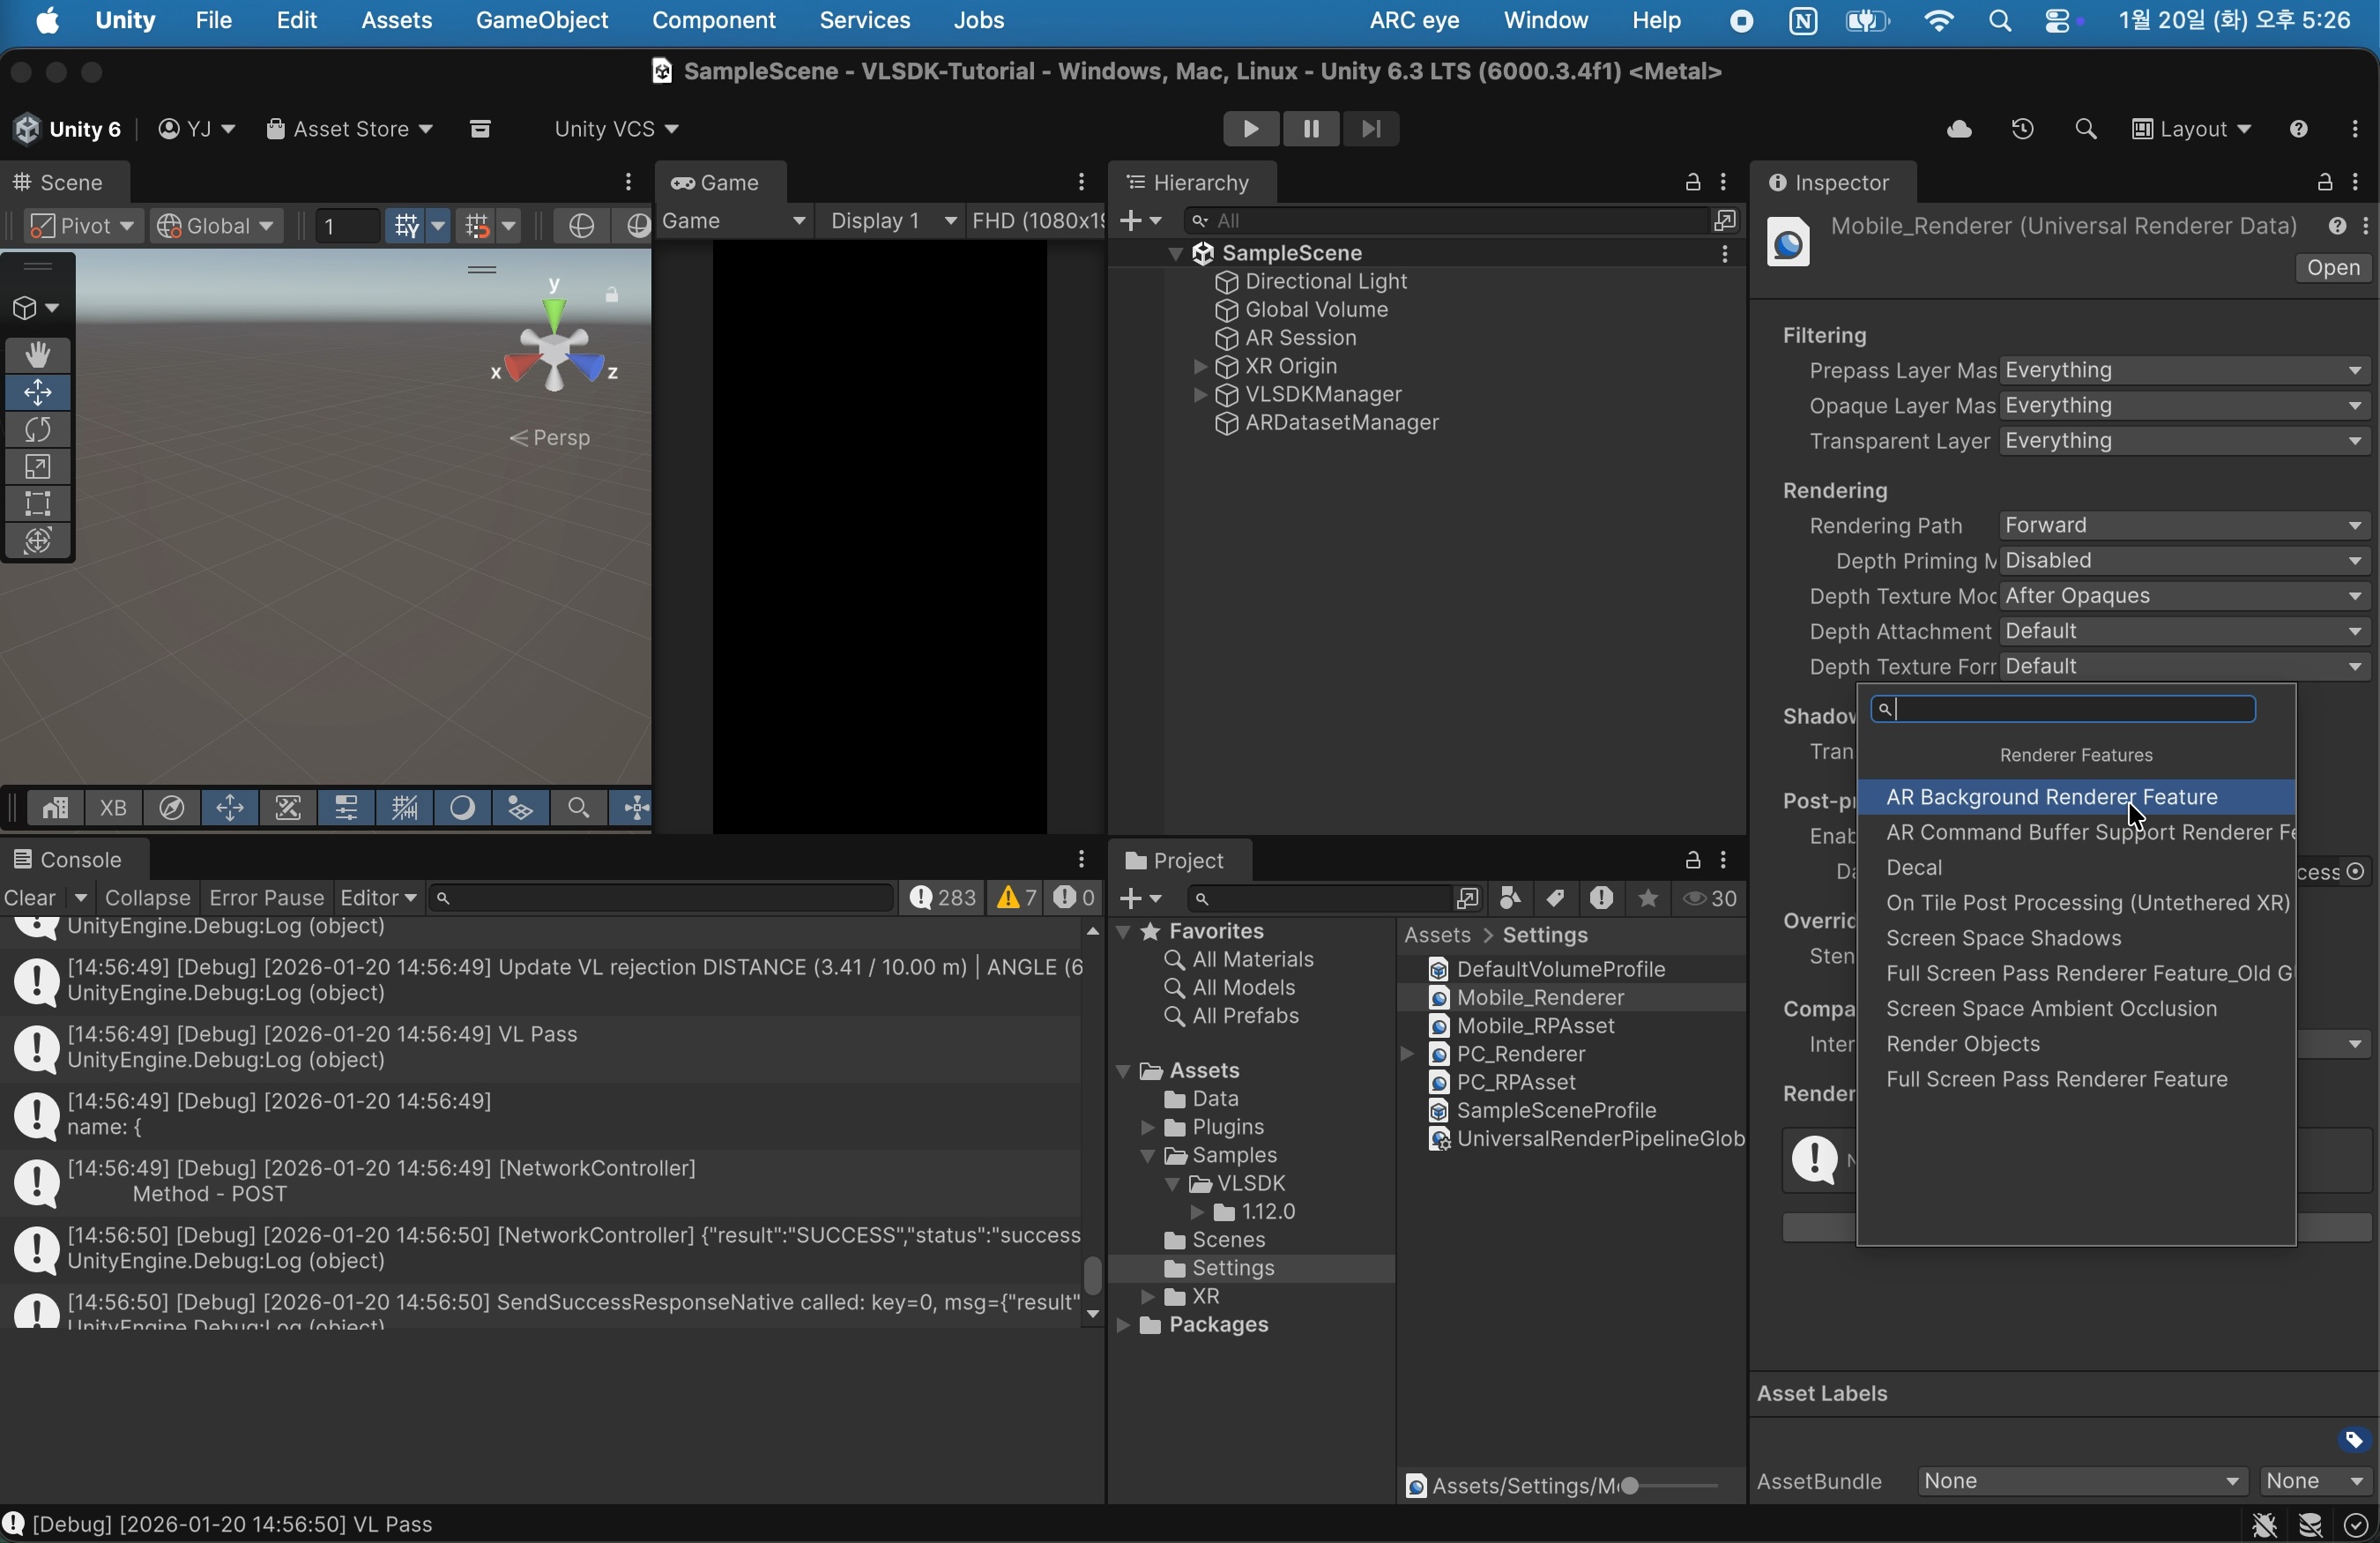
Now when you build the app, you can verify that the AR camera screen is displayed.
5. Conclusion
You now know how to install the VLSDK and create a working project. In the next step, we'll explain how to use ARDataset to develop in an Editor environment with an experience similar to the actual environment.